

Hannah
Salted paper print portrait from a recent Slow Exposure session. It was December, but the snow hadn’t started to fly yet!
Love this serene moment with Hannah.
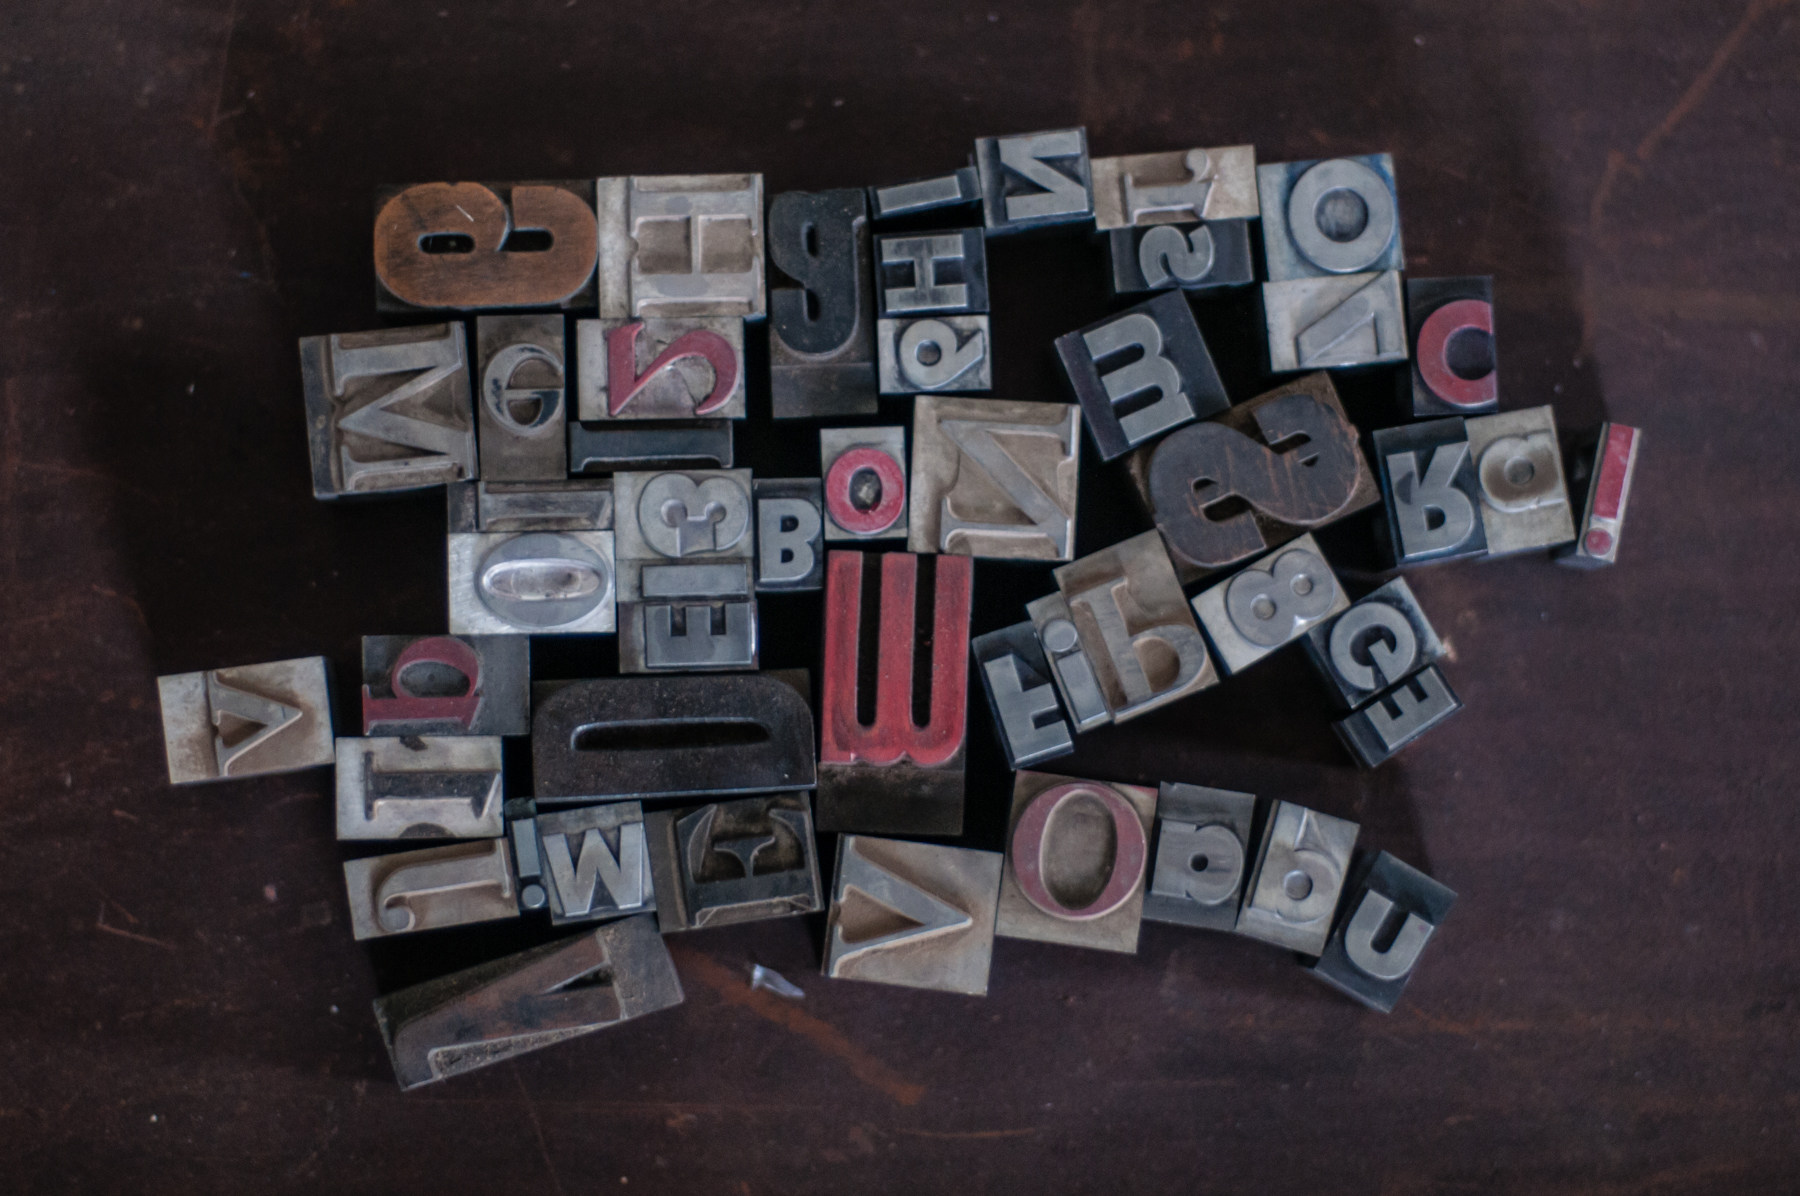
Letterpress type!
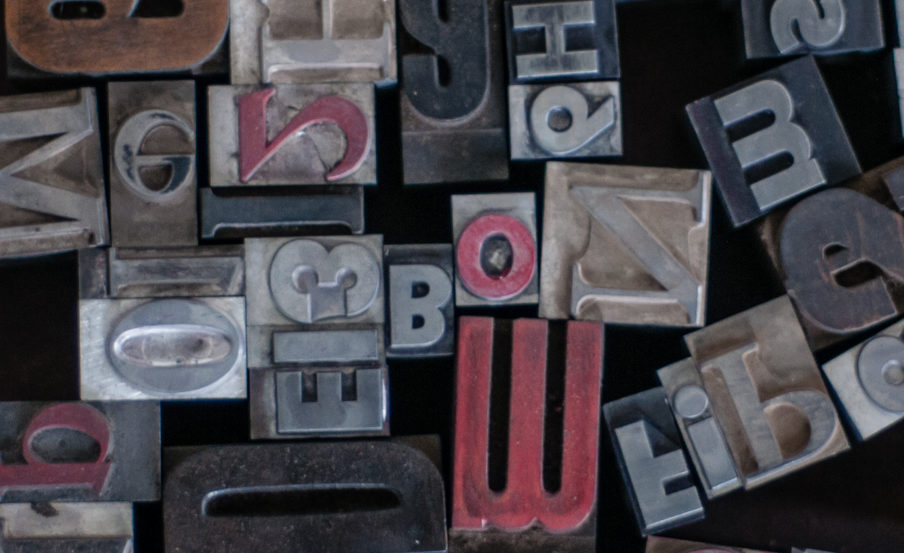
Very excited to have my first small collection of letterpress type. Still need a few things to run it though my galley press, but couldn’t wait to share. 🙂
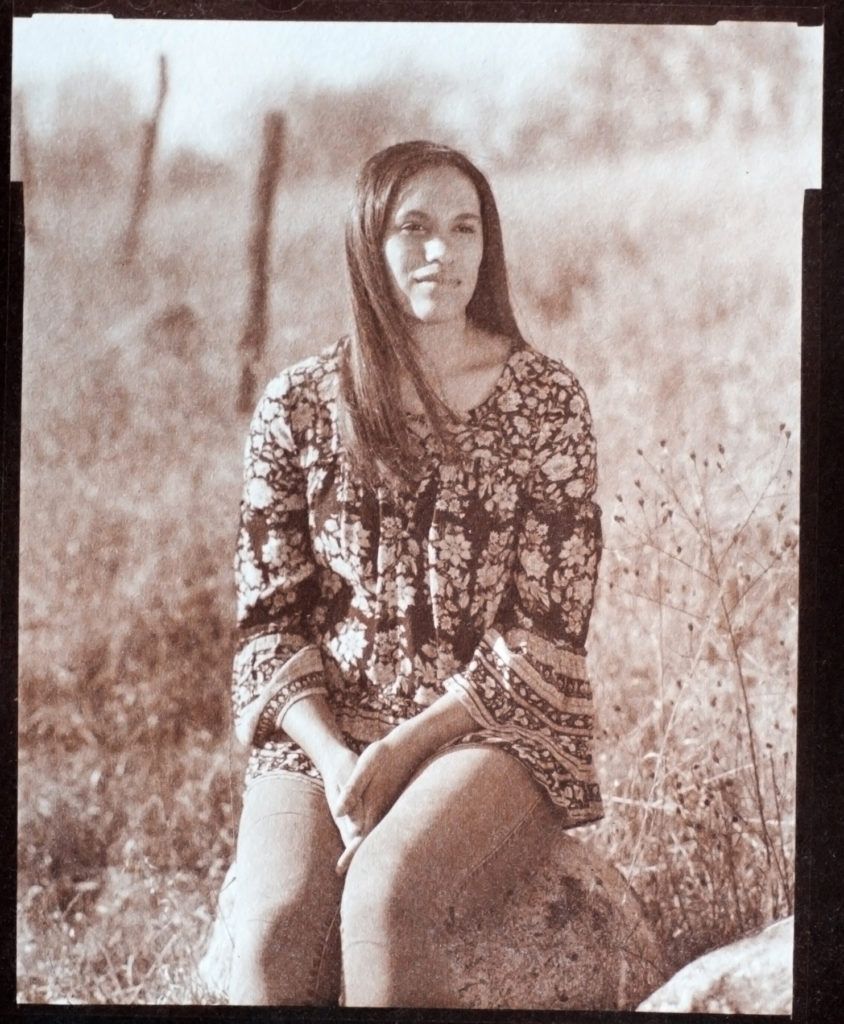
Salted paper prints for high school seniors!

Love this salted paper print from a recent high school senior session.
Try a salt print session for a unique, yet timeless way to document life’s milestones.
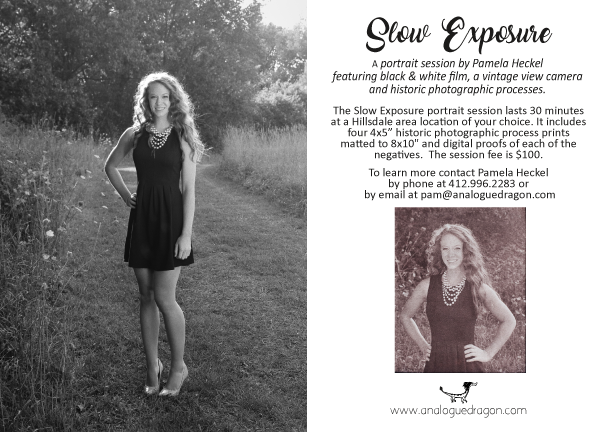
Slow Exposure portrait sessions last just 30 minutes and include four 4×5″ salted paper prints matted to 8×10 for ease of framing. To bridge the gap between the analogue world and everything digital, 4 digital proofs created from the sheet film are also included.
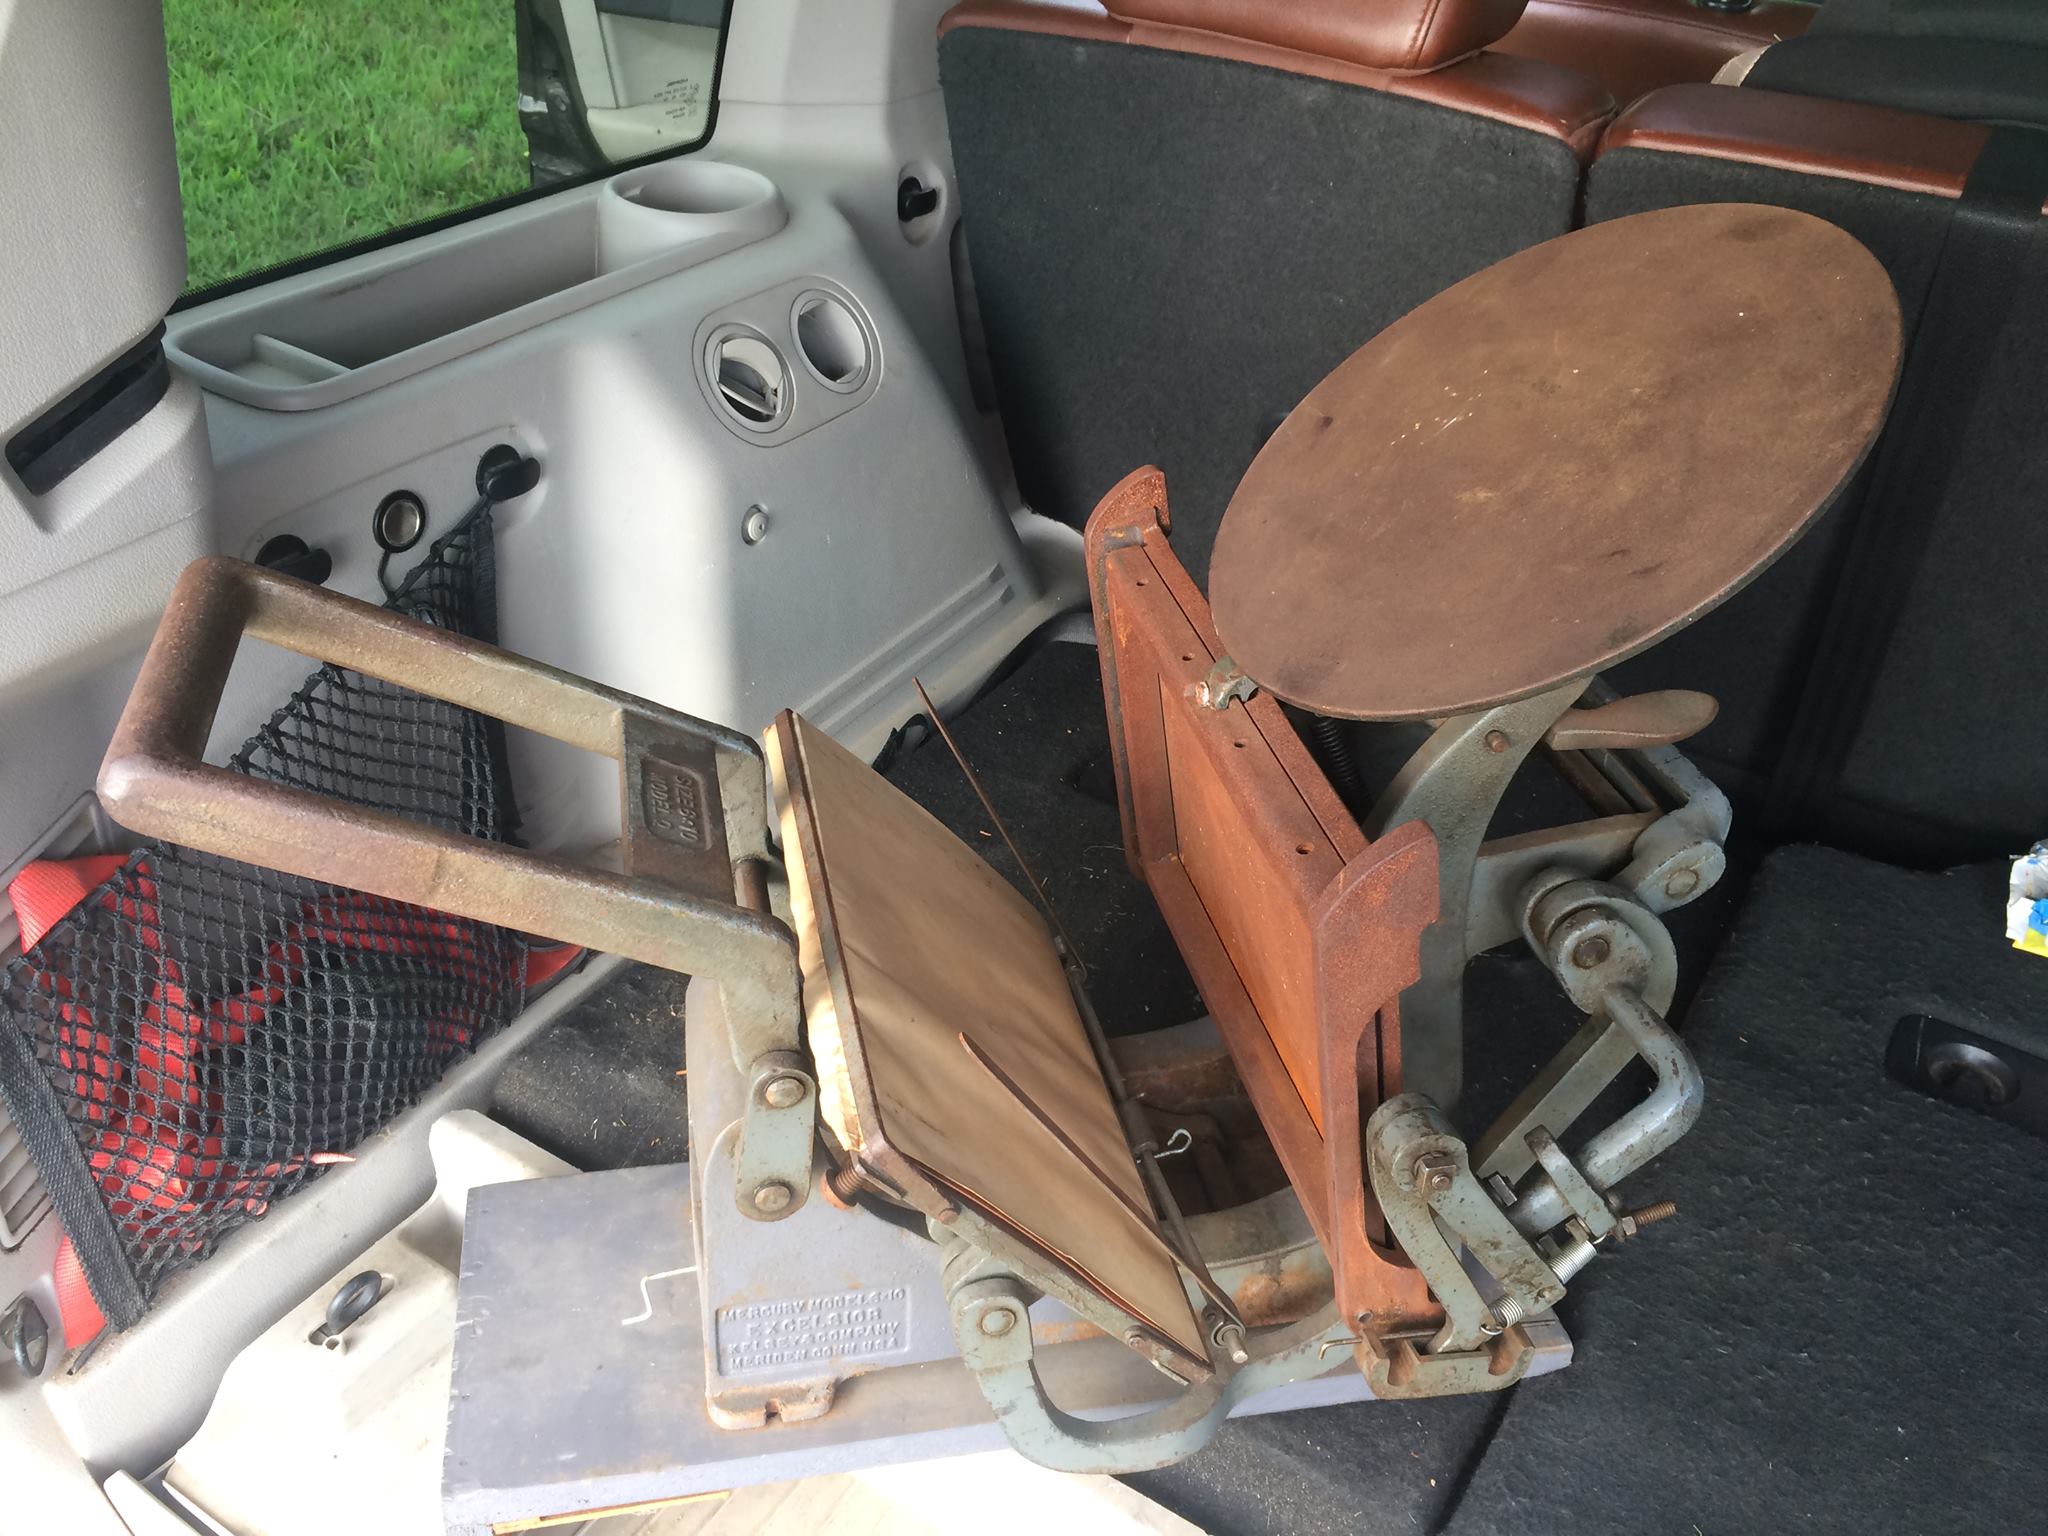
Cylinder Proof Press!
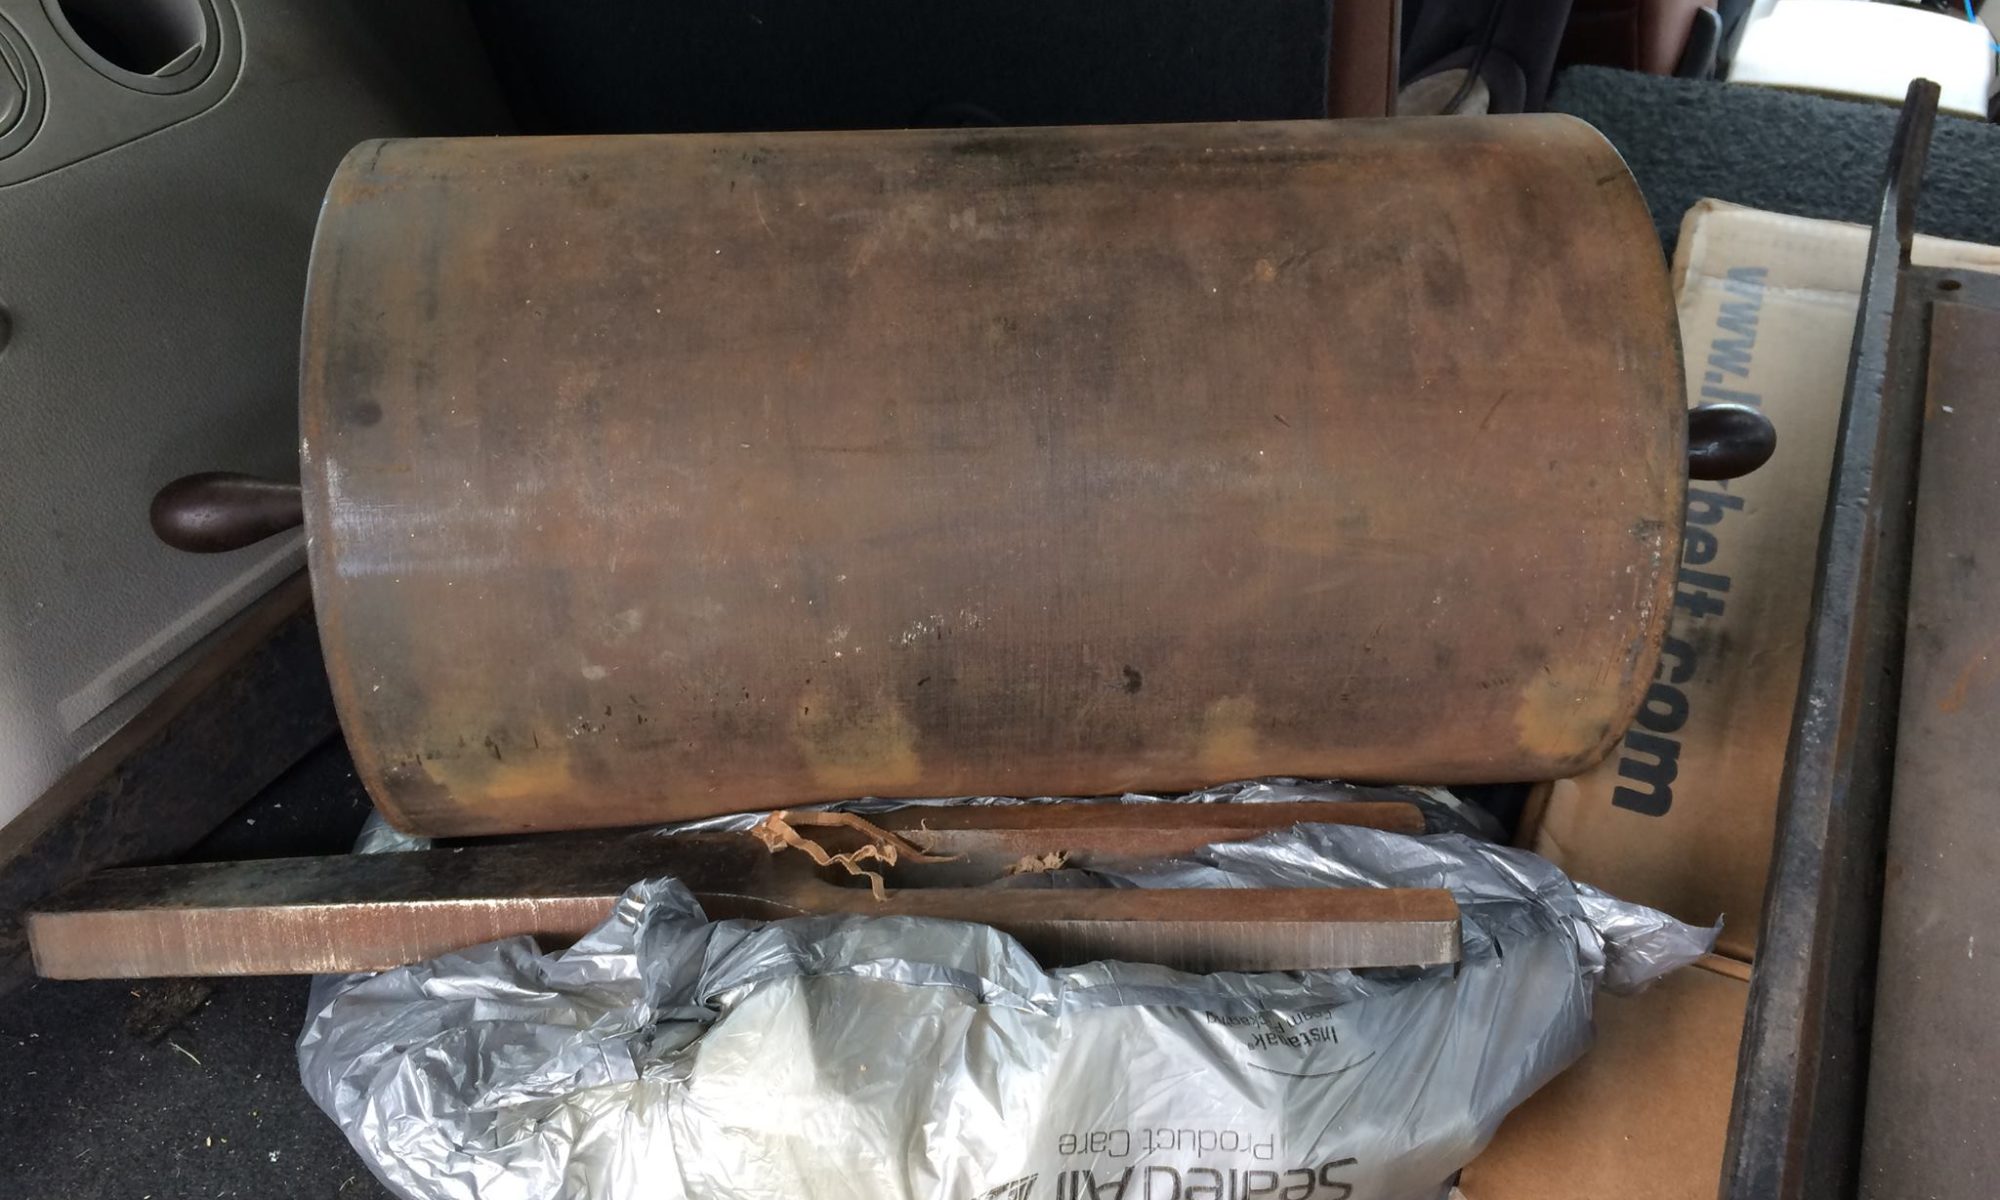
I’m very excited about today’s arrival of my second printmaking press! It’s a Challenge cylinder proof press and it consists of two basic parts; a cylinder with handles and a platform onto which the cylinder rolls and rests. 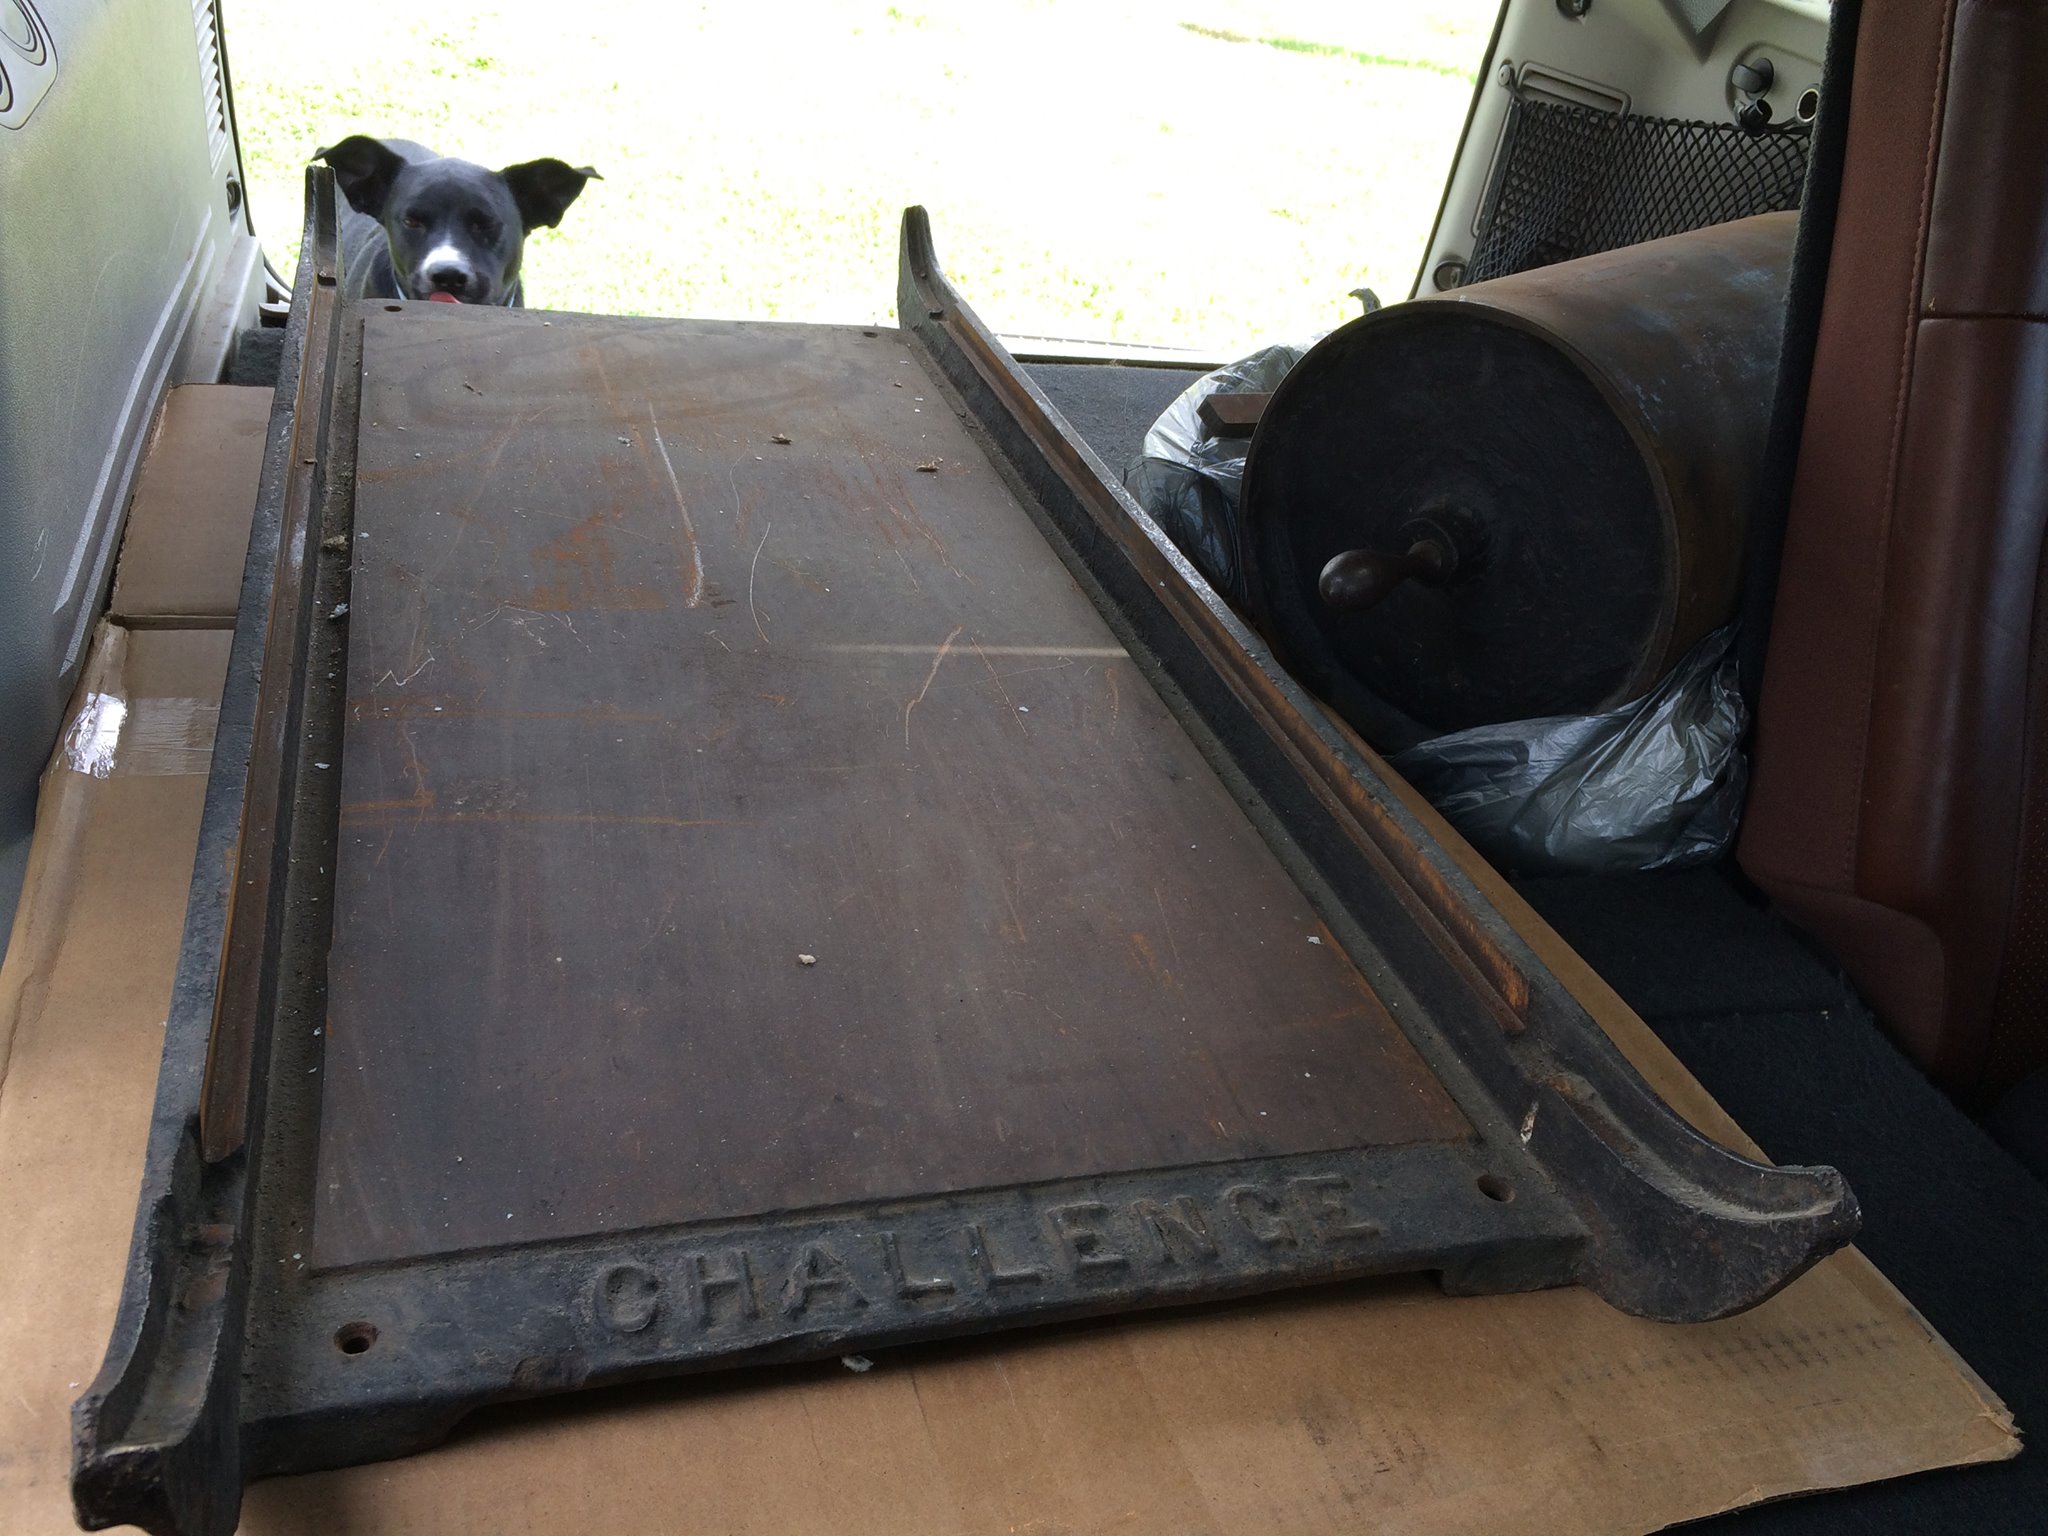
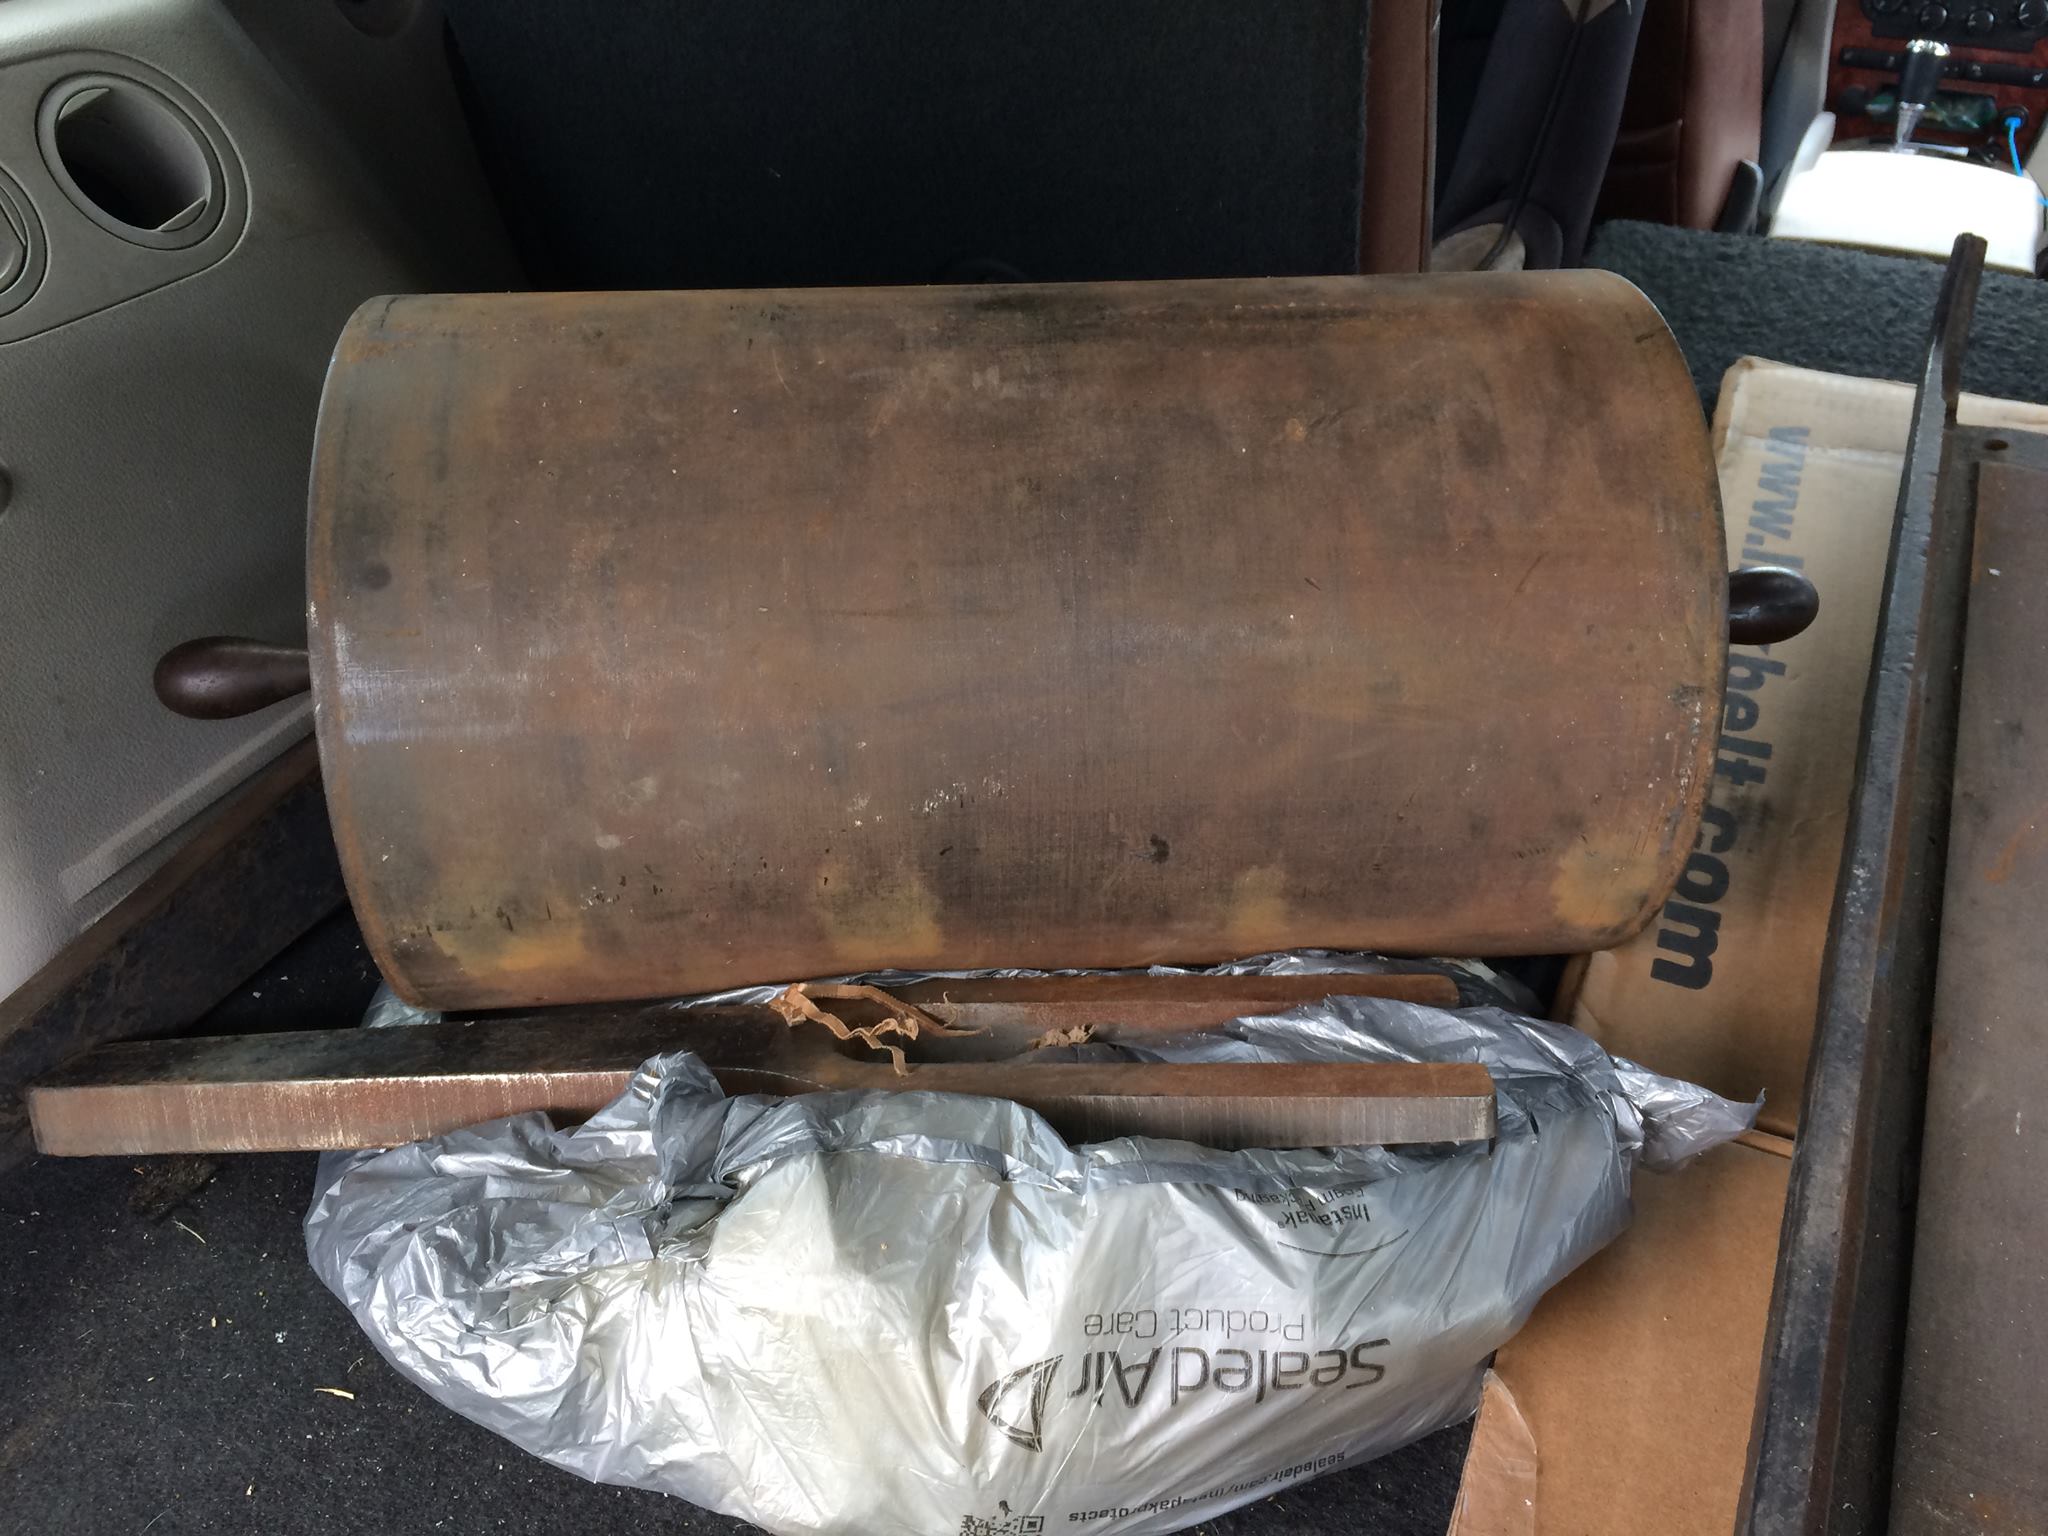
Together the two pieces weigh 350 pounds!
Here is a video demonstration of a similar style press in use… https://www.youtube.com/watch?v=9vuq5mAhMQA
Earlier this summer I found a 6×10″ Model Q Kelsey letter press. The two presses will allow me to explore a wide range of letterpress techniques.
Look for posts this spring about letterpress workshops for youth and again in the summer about workshops for kids at the Hillsdale Community library. I’m also hoping to travel my letterpress to the 2018 Hillsdale County Farmers Market.
Stay tuned as I delve into this new to me media art technology!
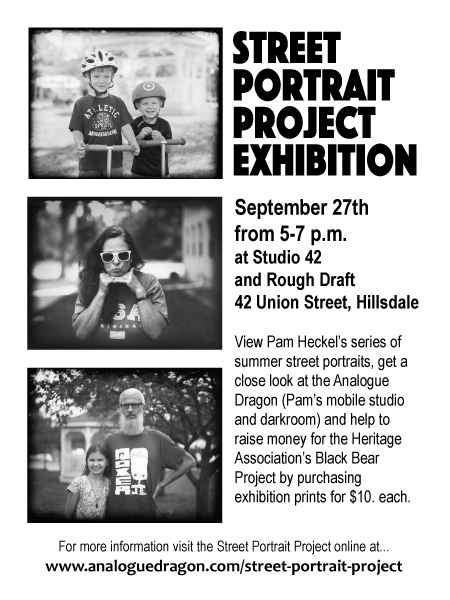
Salted Paper Print Portraits

Salted paper print portraits are available at the Hillsdale County Farmers Market as a “Street Portrait”; they can also be purchased as a “Slow Exposure” portrait session.
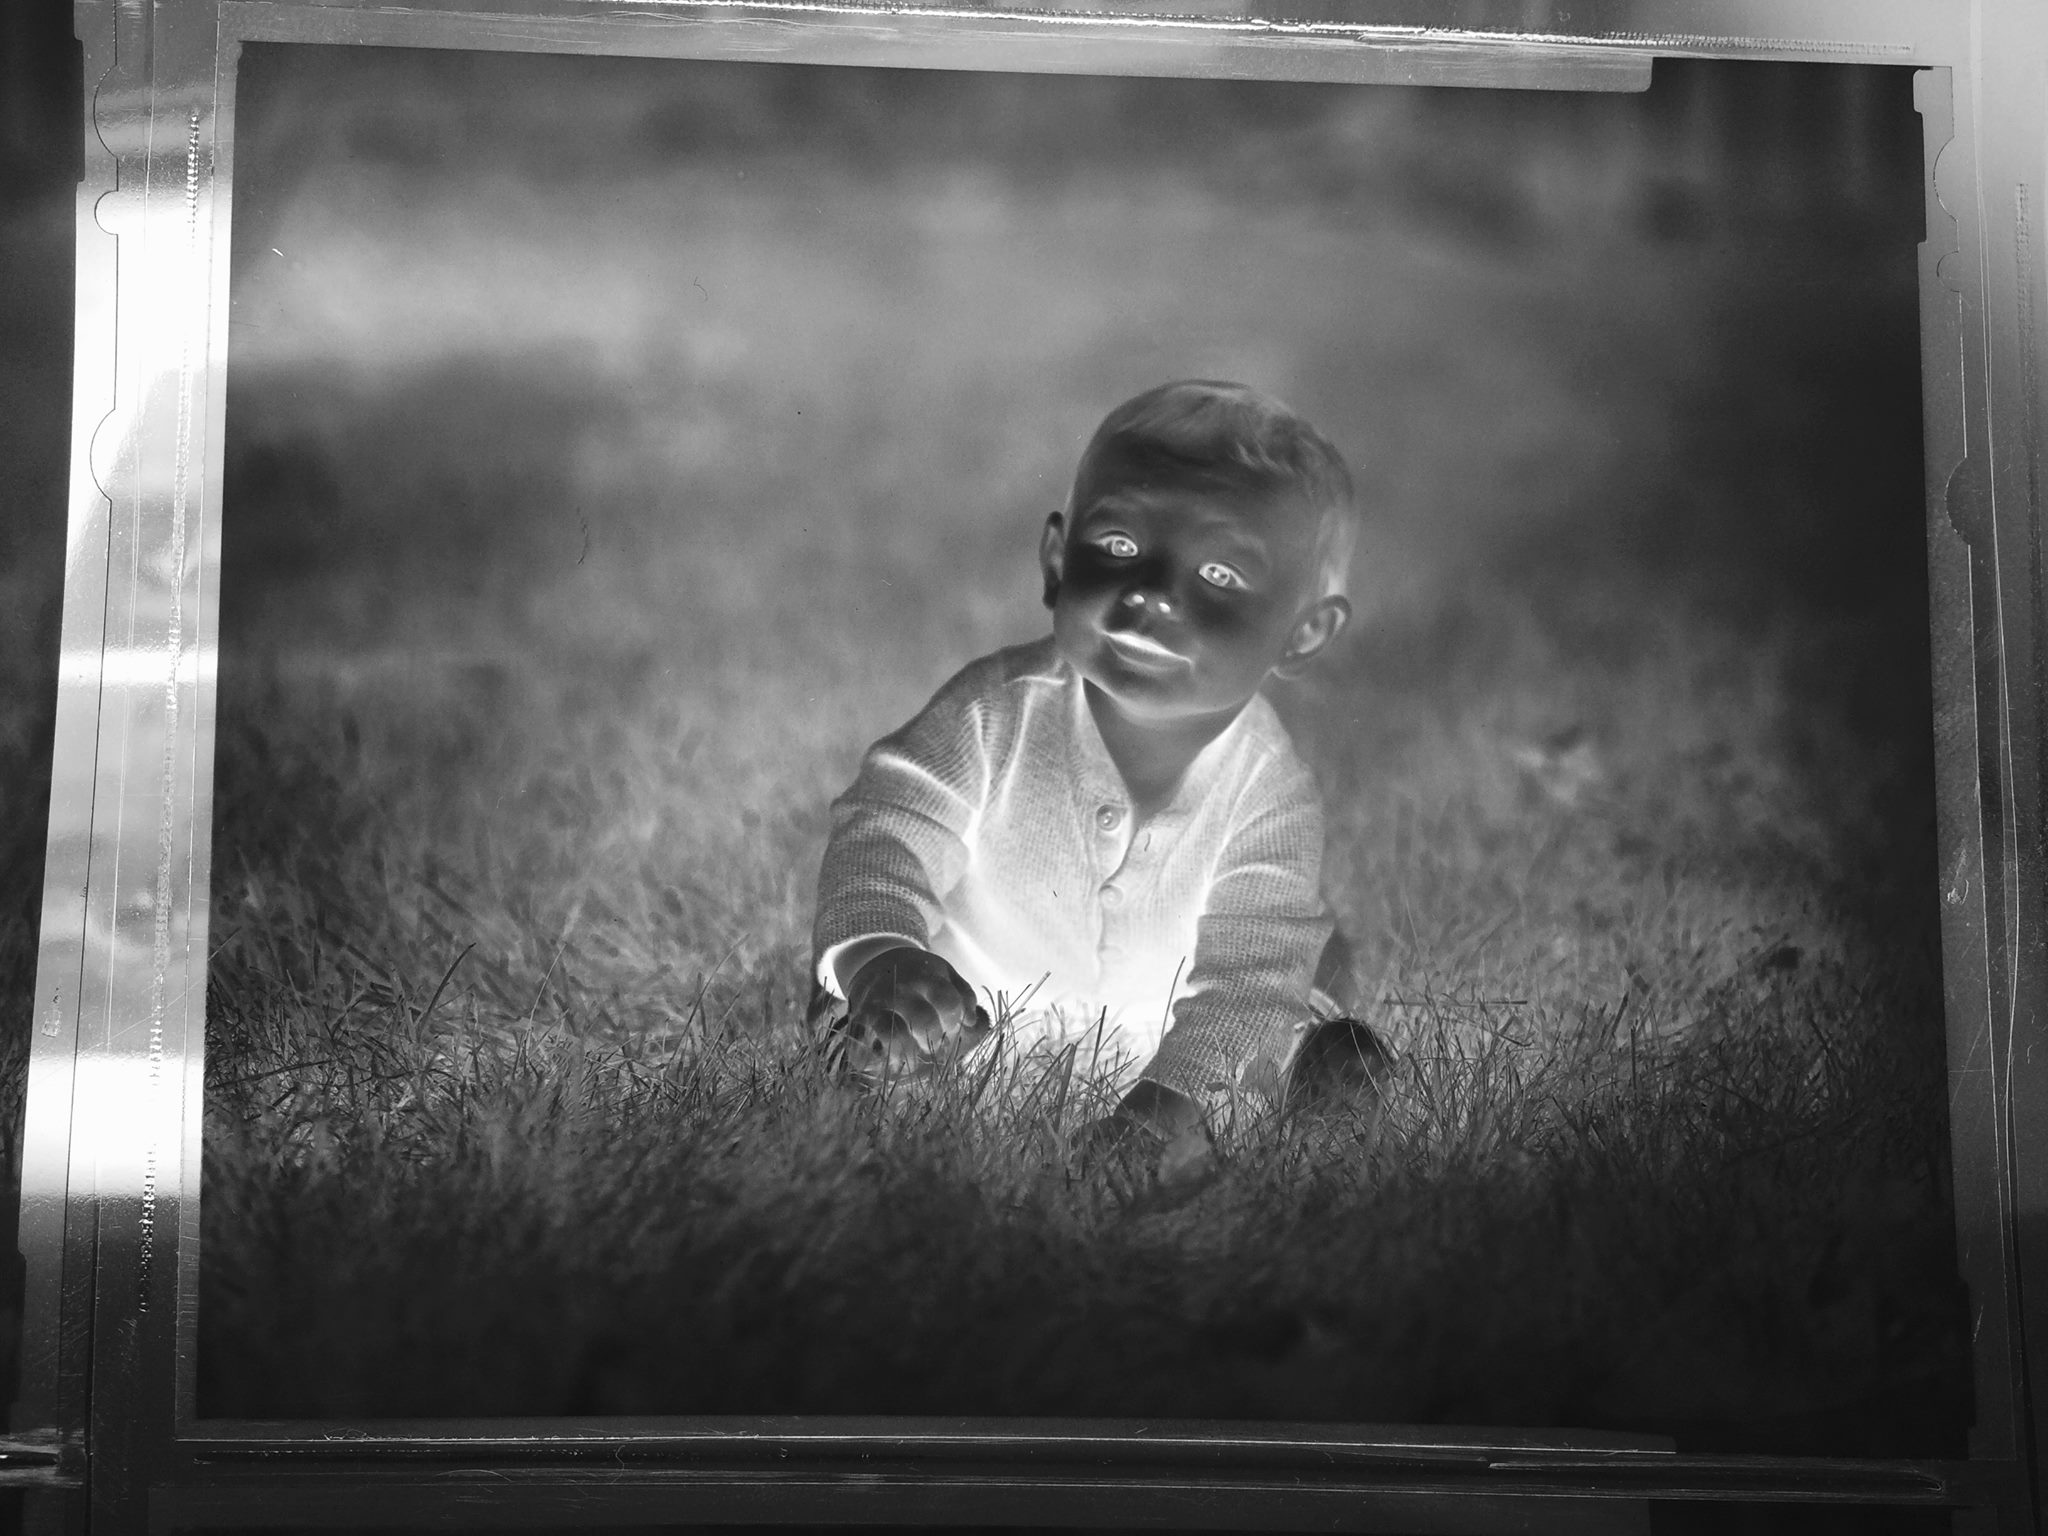
The first step in making a salted paper print portrait is to create a 4×5″ negative using a vintage view camera. Once processed, the negative looks something like this…
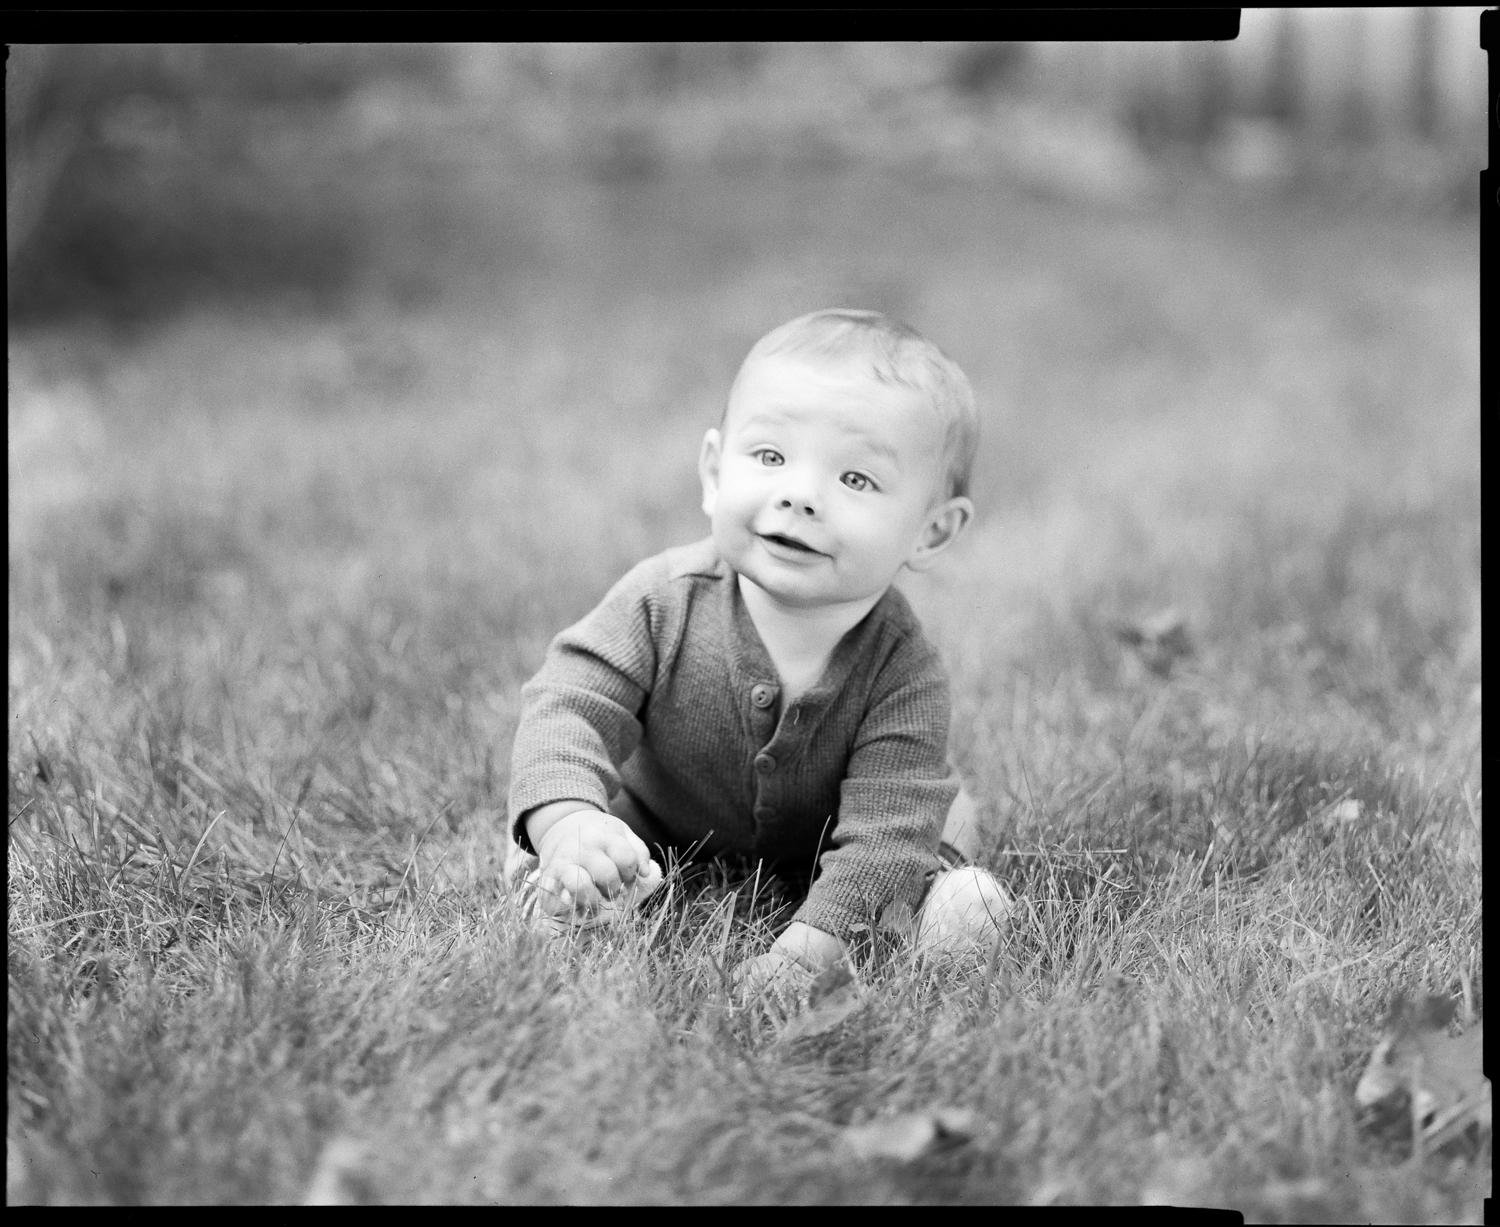
The 4×5 film is then used to make a salted paper print. Salt prints are an historic photographic process invented by Henry Fox Talbot and used commercially in 1840. Salt print paper is hand coated twice; once with a salt solution and again with a silver nitrate solution. After the paper is dried the negative is placed on top of it inside a special contact printing frame and it is all placed outside in the sun for printing. The ultra violet light from the sun reacts with the silver nitrate turning it dark. The areas that are most transparent in the negative are exposed to the greatest amount of light and are the darkest areas in the print.
Salt prints are difficult to photograph in a way that truly captures their unique beauty, but here is an example of a salted paper print portrait made from the negative shown above…
In addition to the salt prints, I also create digital scans of the 4×5 negatives used to make the salt prints. The scanned images are included in the Slow Exposure sessions as one more way to share with family and friends.
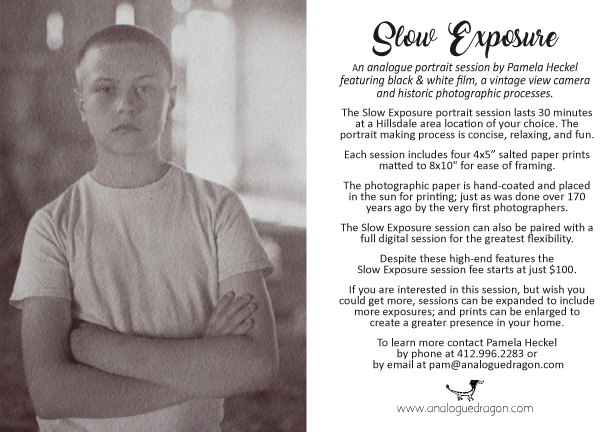
About “Slow Exposure” Analogue Portrait Sessions
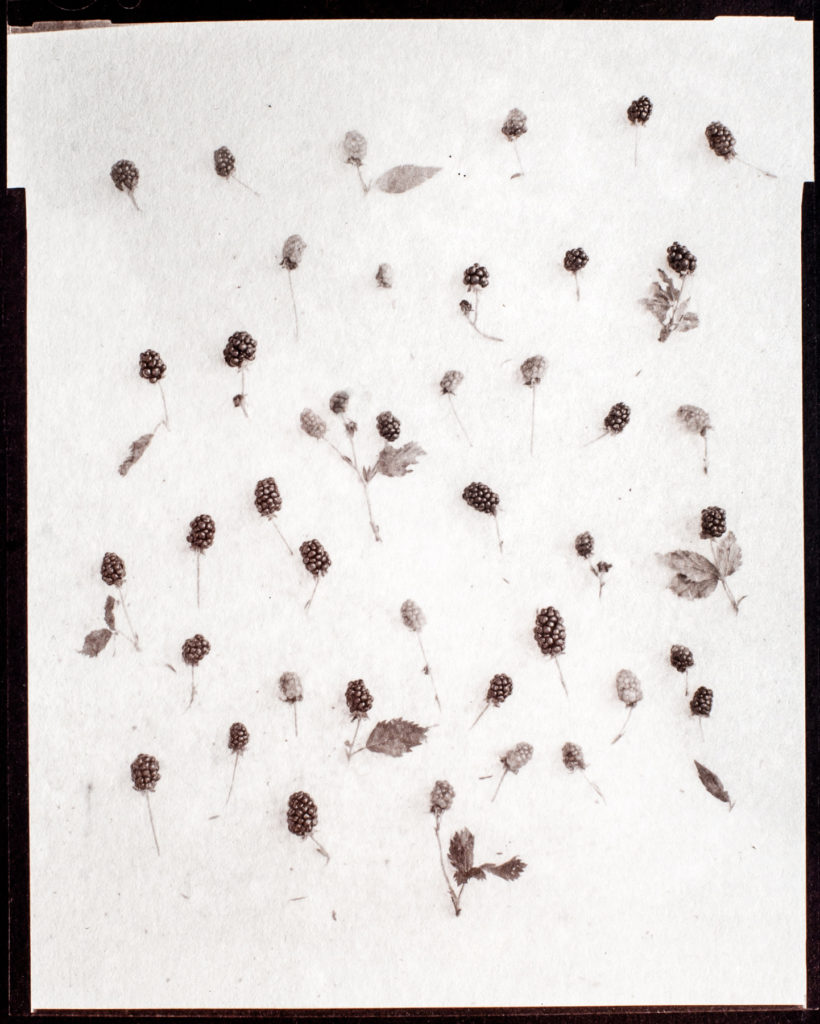
Blackberries.
Carrots!
![]()
Waxed Paper Negative – A Photo Essay :)
Tried something new for me. Made a salt print from a waxed paper negative. ![]()
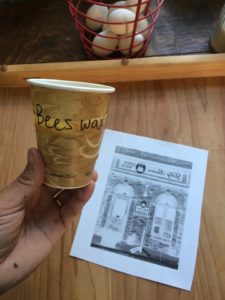 Bees wax!
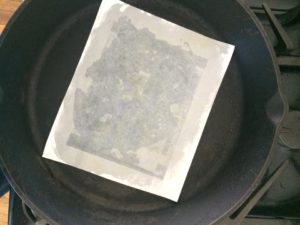 Warm pan to melt the bees wax onto the paper negative.
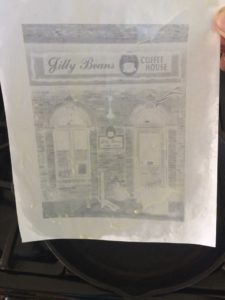 Probably too much bees wax! 🙂
 The goal of using the bees wax is to make the paper more translucent for printing through.
 Looks good! Can see light shining through the paper.
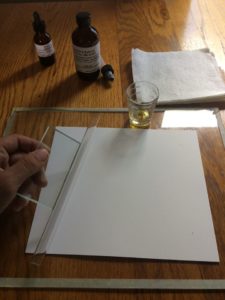 Ready to put the salt solution on another piece of paper with a glass coating rod. This paper will be the positive print.
 I added a contrast agent to the salt solution; the contrast agent makes it yellow.
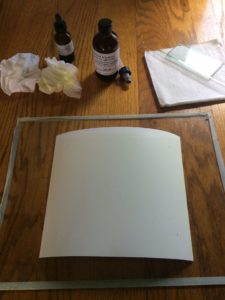
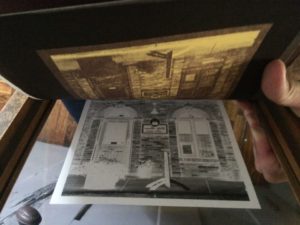
 The above photo was taken in our closet… our only closet… where I can get away from UV light (sunshine). The paper has been coated with silver nitrate and dried. Now I can add the waxed paper negative and sandwich it under glass in a printing frame.
 Oh… and I needed to flip the negative so it will print correctly.
 ![]()
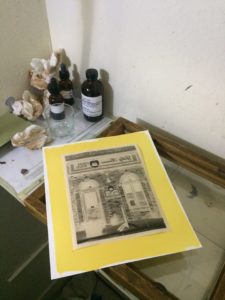
 Ready to go outside!
 In the evening sun to start the exposure. The yellow edges are already starting to turn brown from the UV light.
 After 10 minutes the paper starts to show how it is reacting to the UV light by turning brown around the edges. The image area is still blank though. More time is needed.
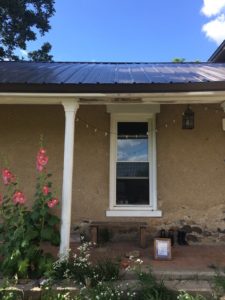 Waiting… loving the beautiful summer weather… and the hollyhocks!
 After 30 minutes it is looking close to done. Notice how dark the brown edges are now.
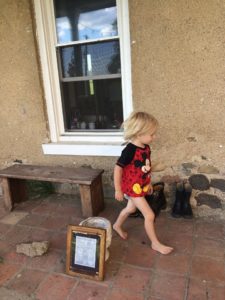 And Dash passes through…
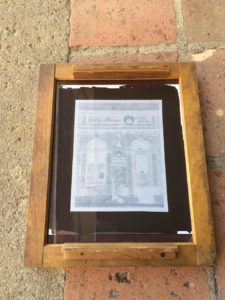
 Checking the progress of the exposure. My print frame has a hinged back so I can lift one half of the paper and not loose its registration/alignment. I check the exposure at the top of my basement stairs where the light is dim.
 A little more time in the sun!
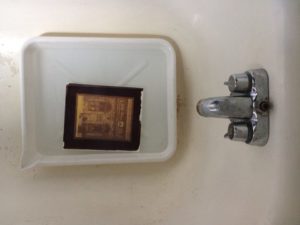 After a 40 minute exposure, the print is placed in water for 7 minutes for its first rinse cycle.
 Still rinsing.
 ![]() 🙂
🙂
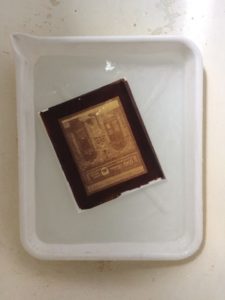
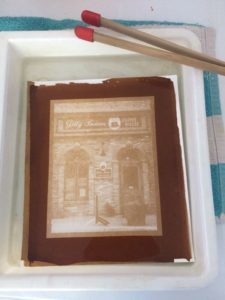 Now the print is in a fixing solution for 10 minutes to keep it from continuing to turn black.
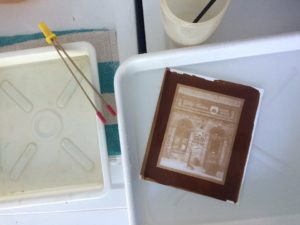 In the final rinse which will take 30 minutes.
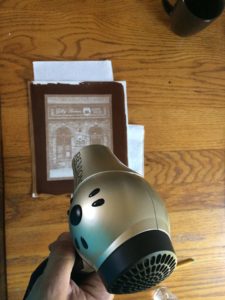 The rinse is done. Next, I dry it with a hair dryer.
 ![]()
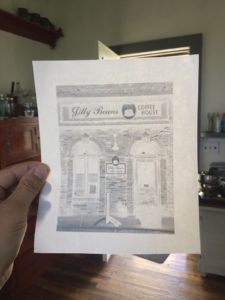
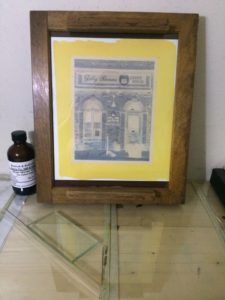
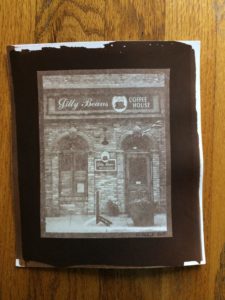 It’s dry and signed!
 I began the printing process with bees wax so….
why not add more bees wax?!!
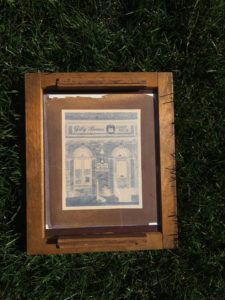
 The End!