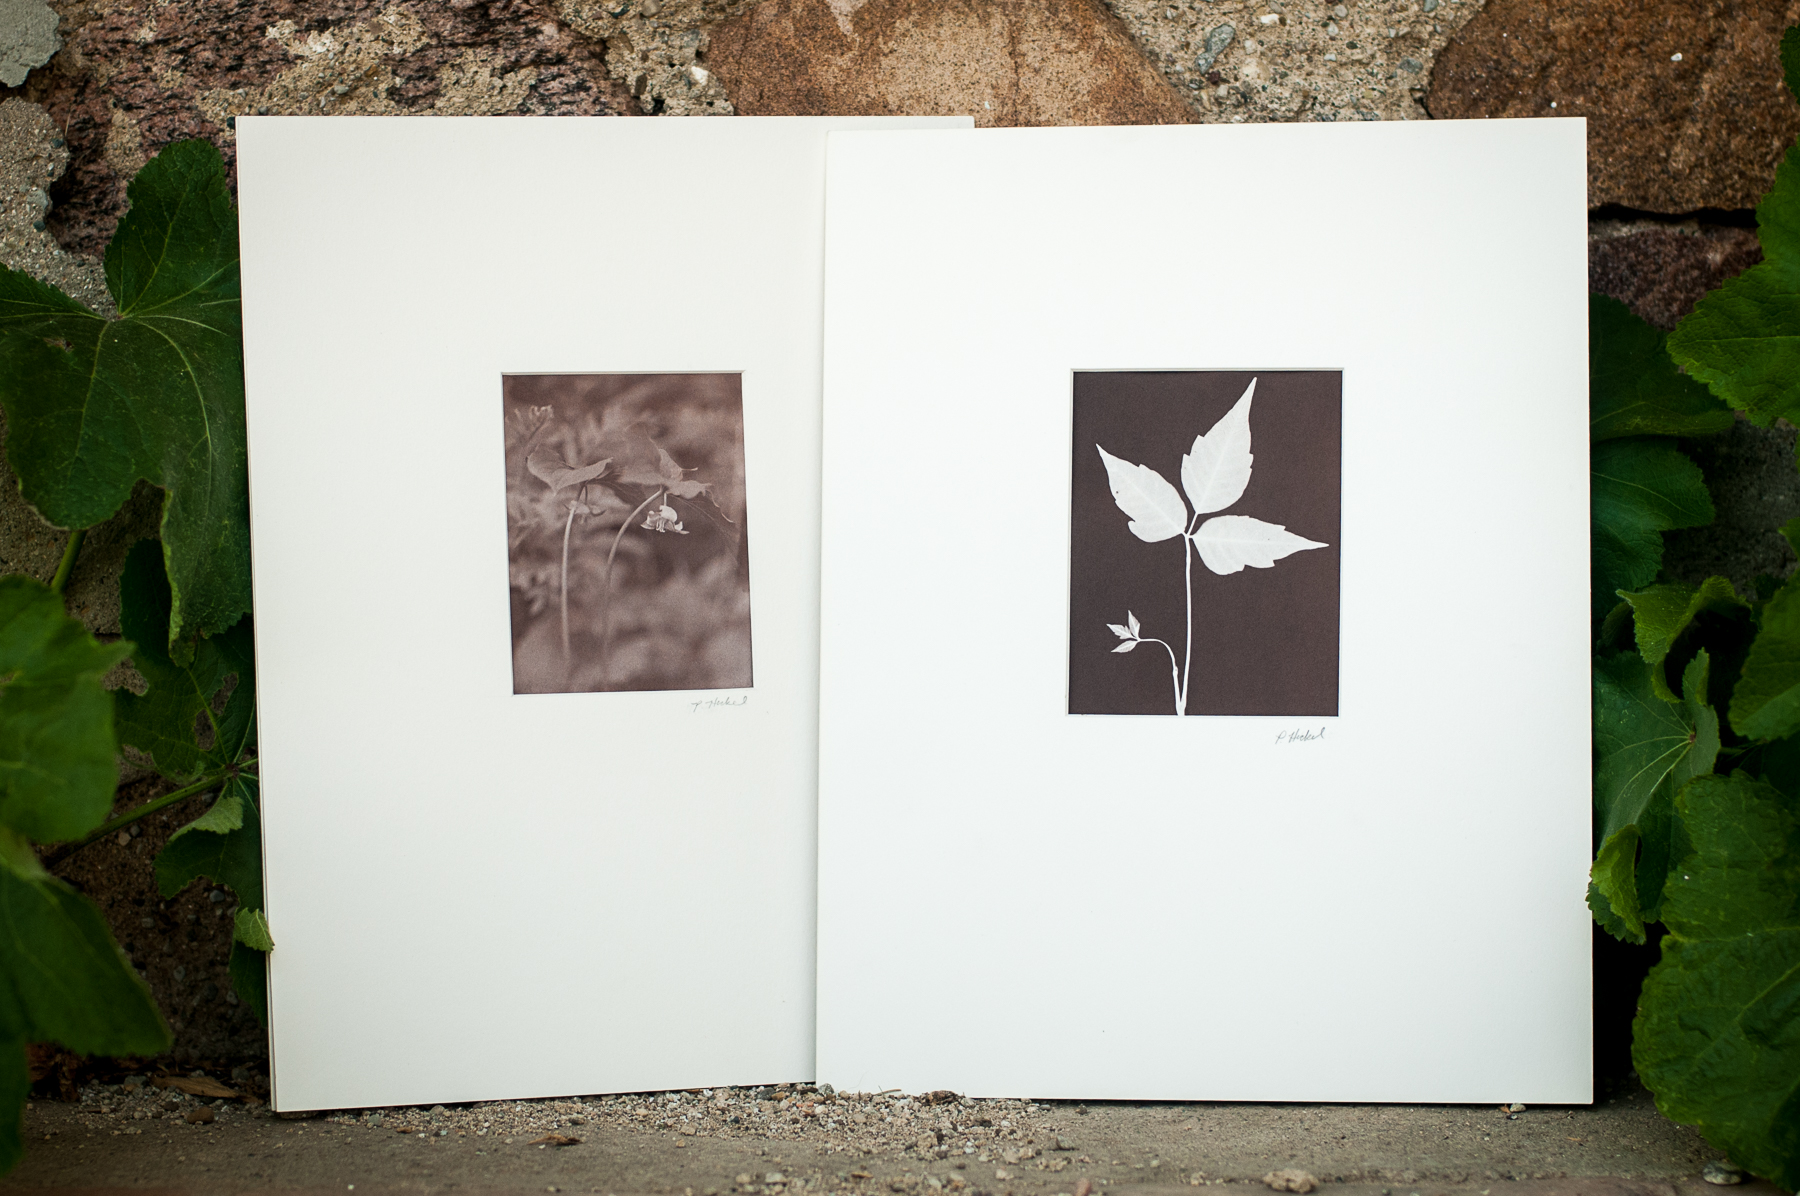
Tried something new for me. Made a salt print from a waxed paper negative. 
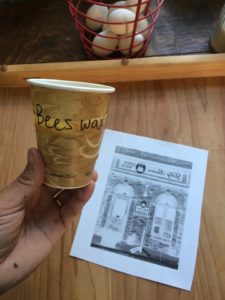 Bees wax!
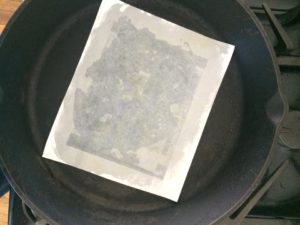 Warm pan to melt the bees wax onto the paper negative.
 Probably too much bees wax! 🙂
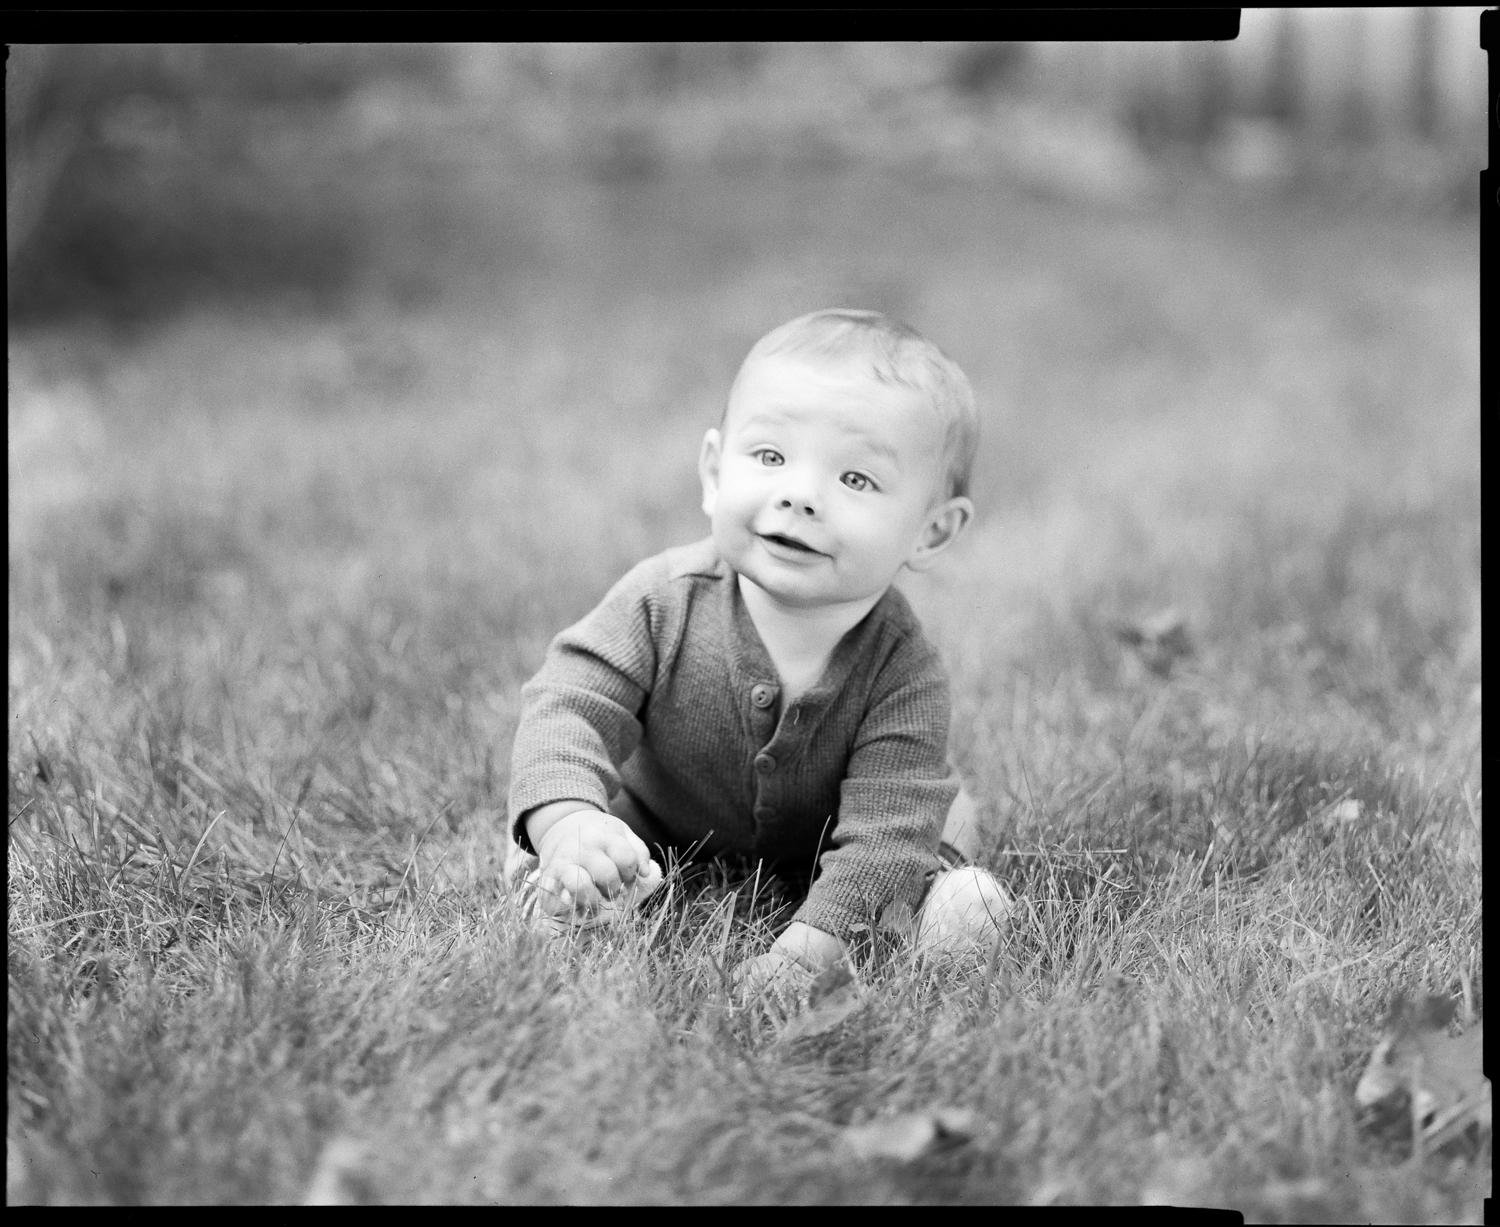
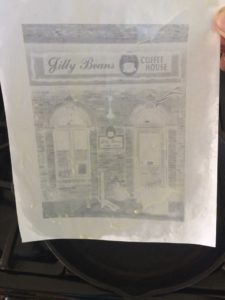
 The goal of using the bees wax is to make the paper more translucent for printing through.
 Looks good! Can see light shining through the paper.
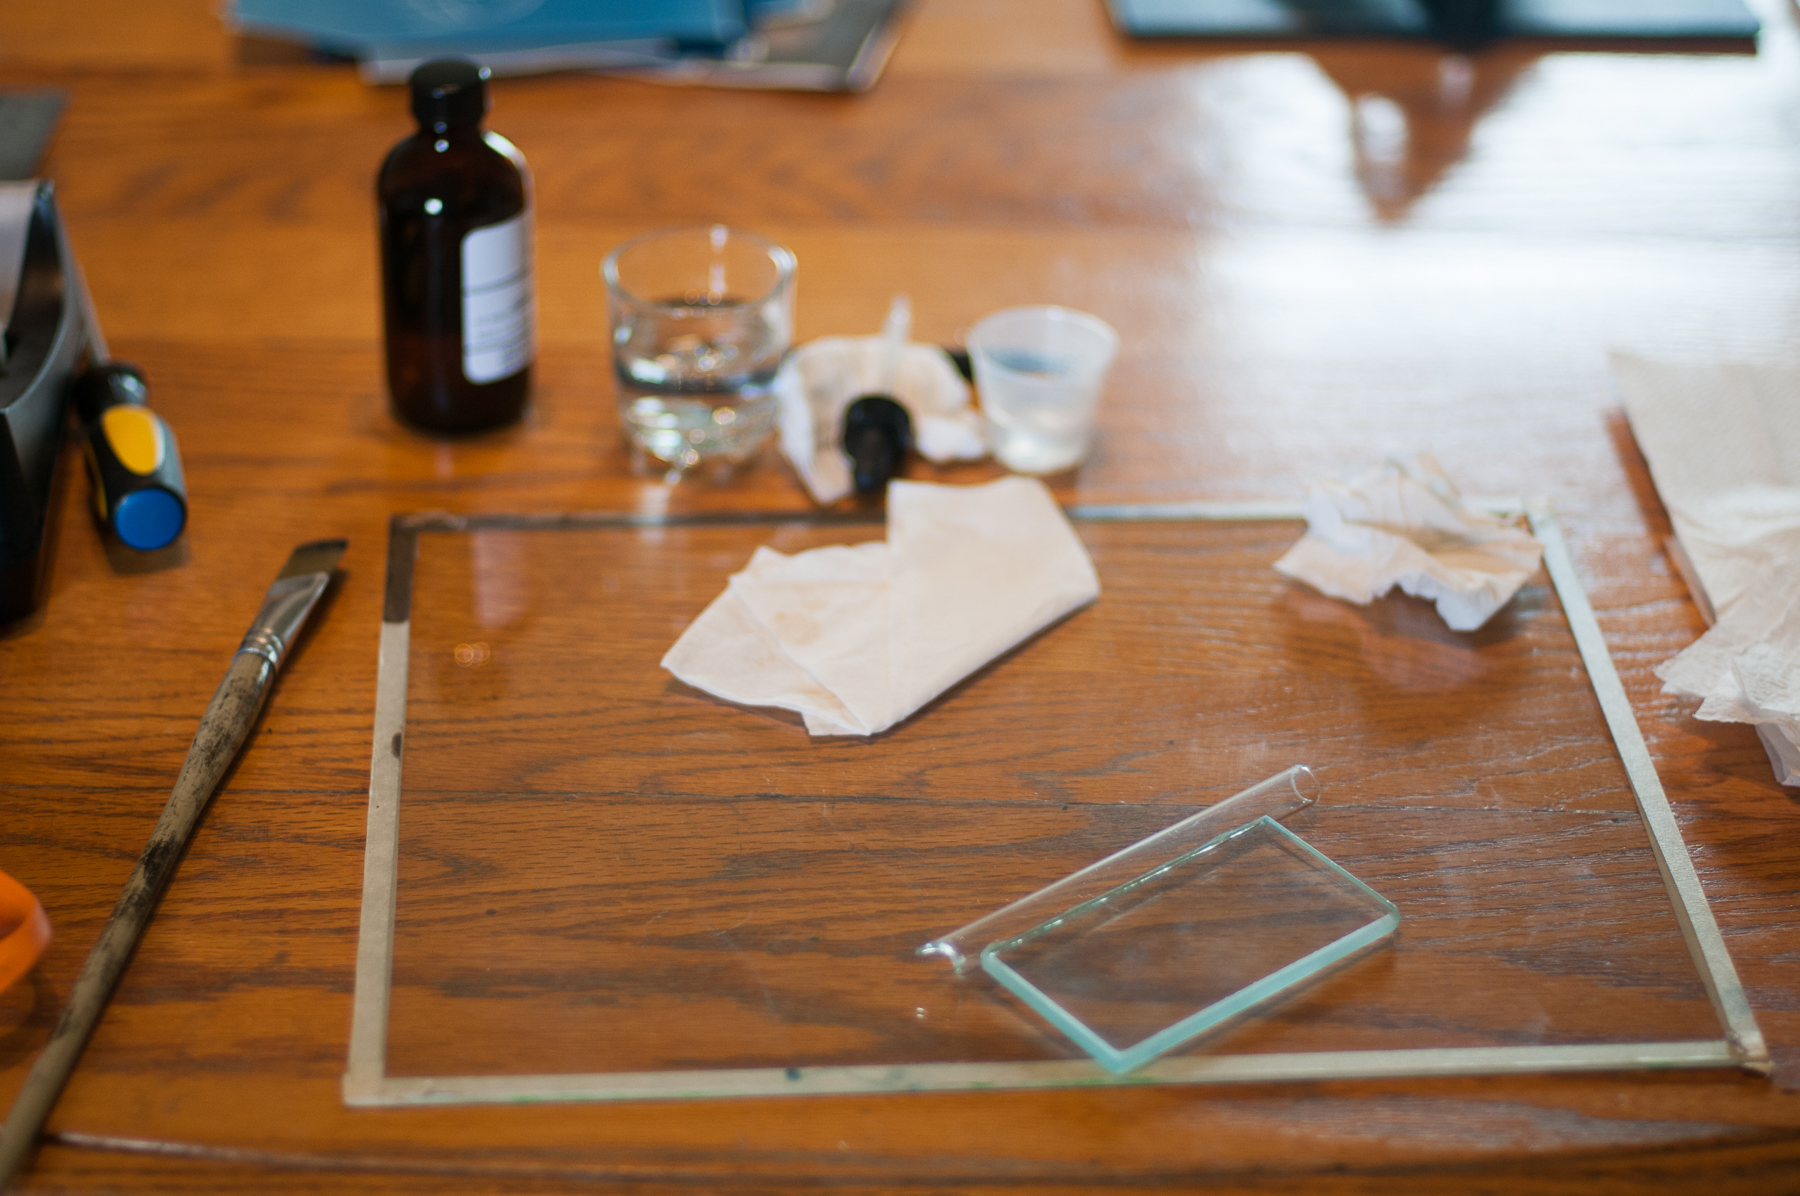
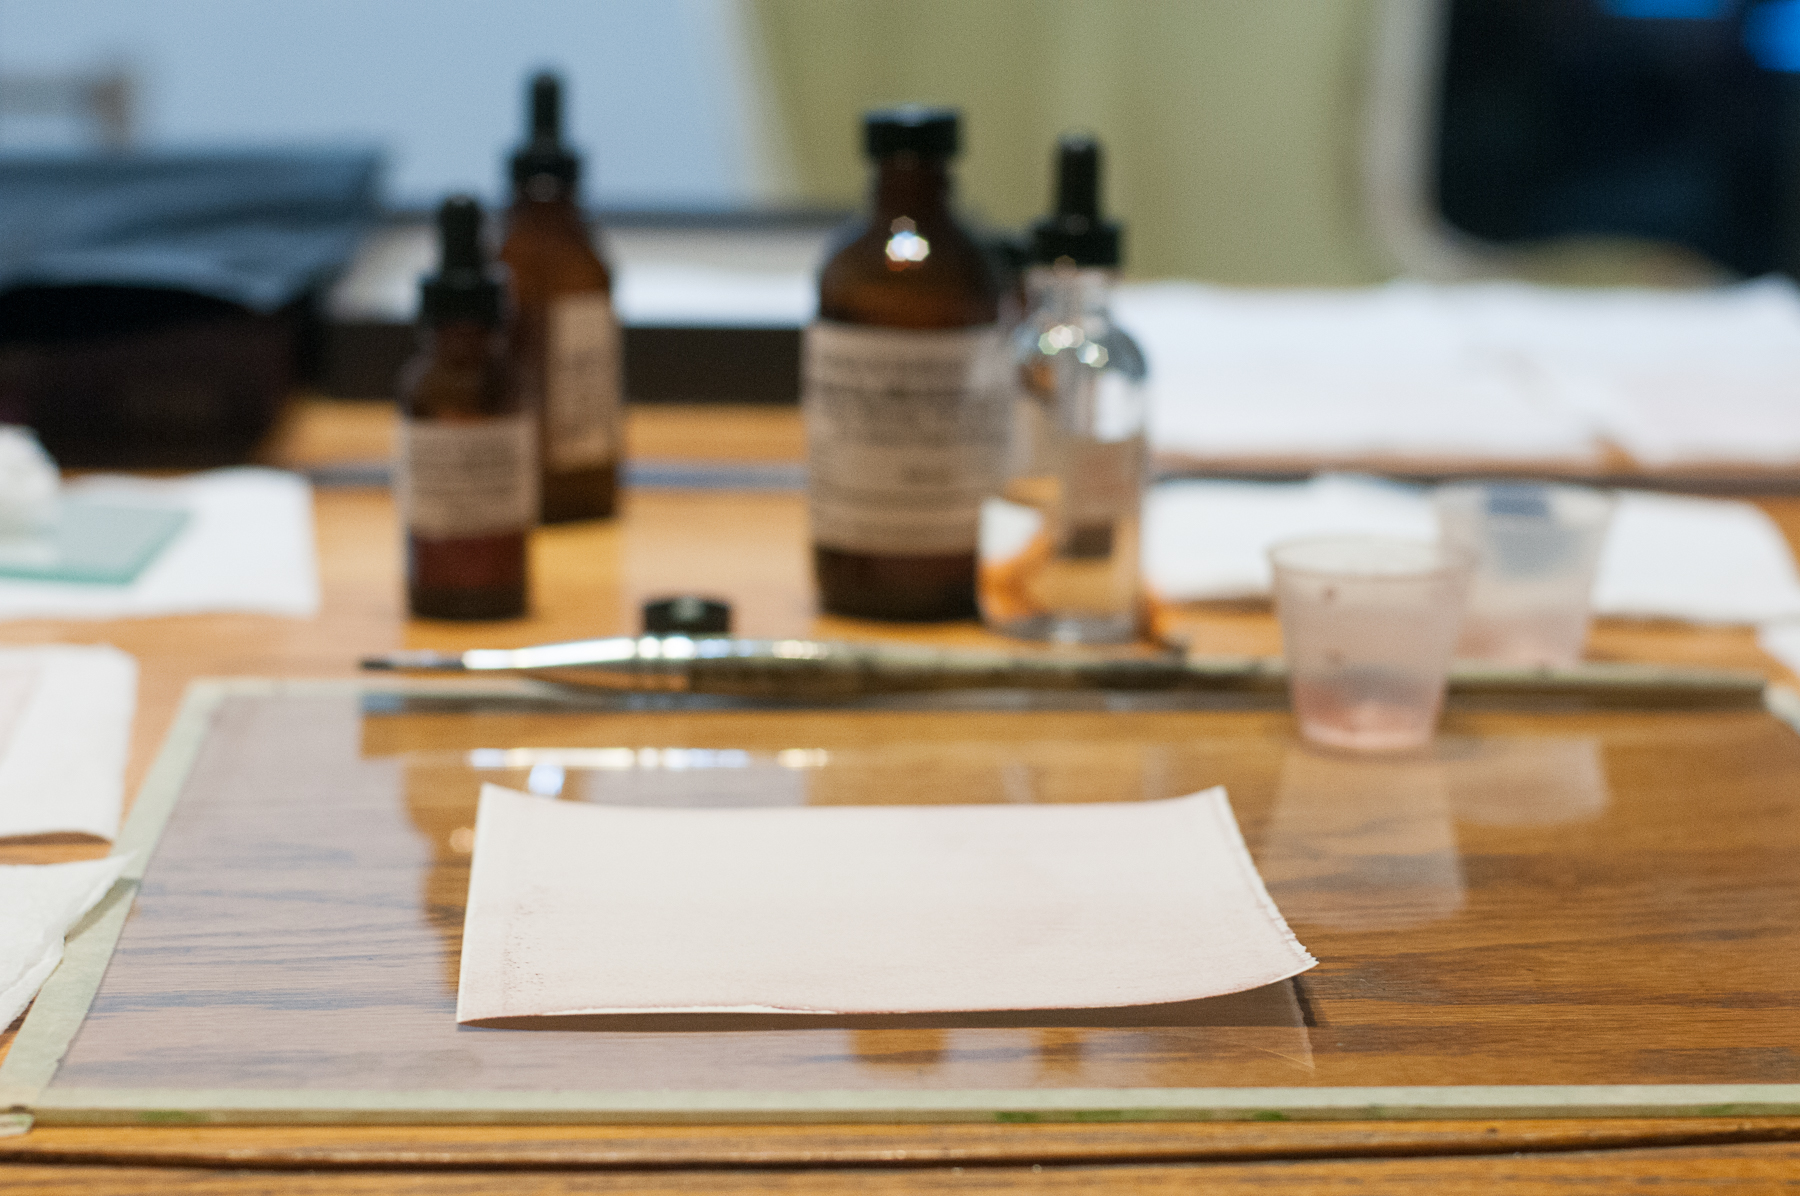
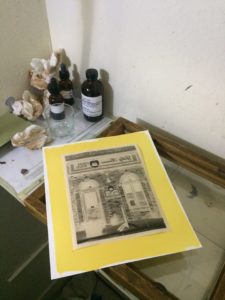
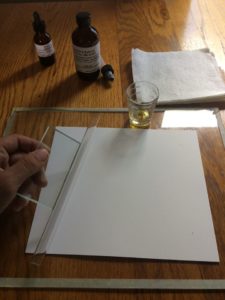 Ready to put the salt solution on another piece of paper with a glass coating rod. This paper will be the positive print.
 I added a contrast agent to the salt solution; the contrast agent makes it yellow.
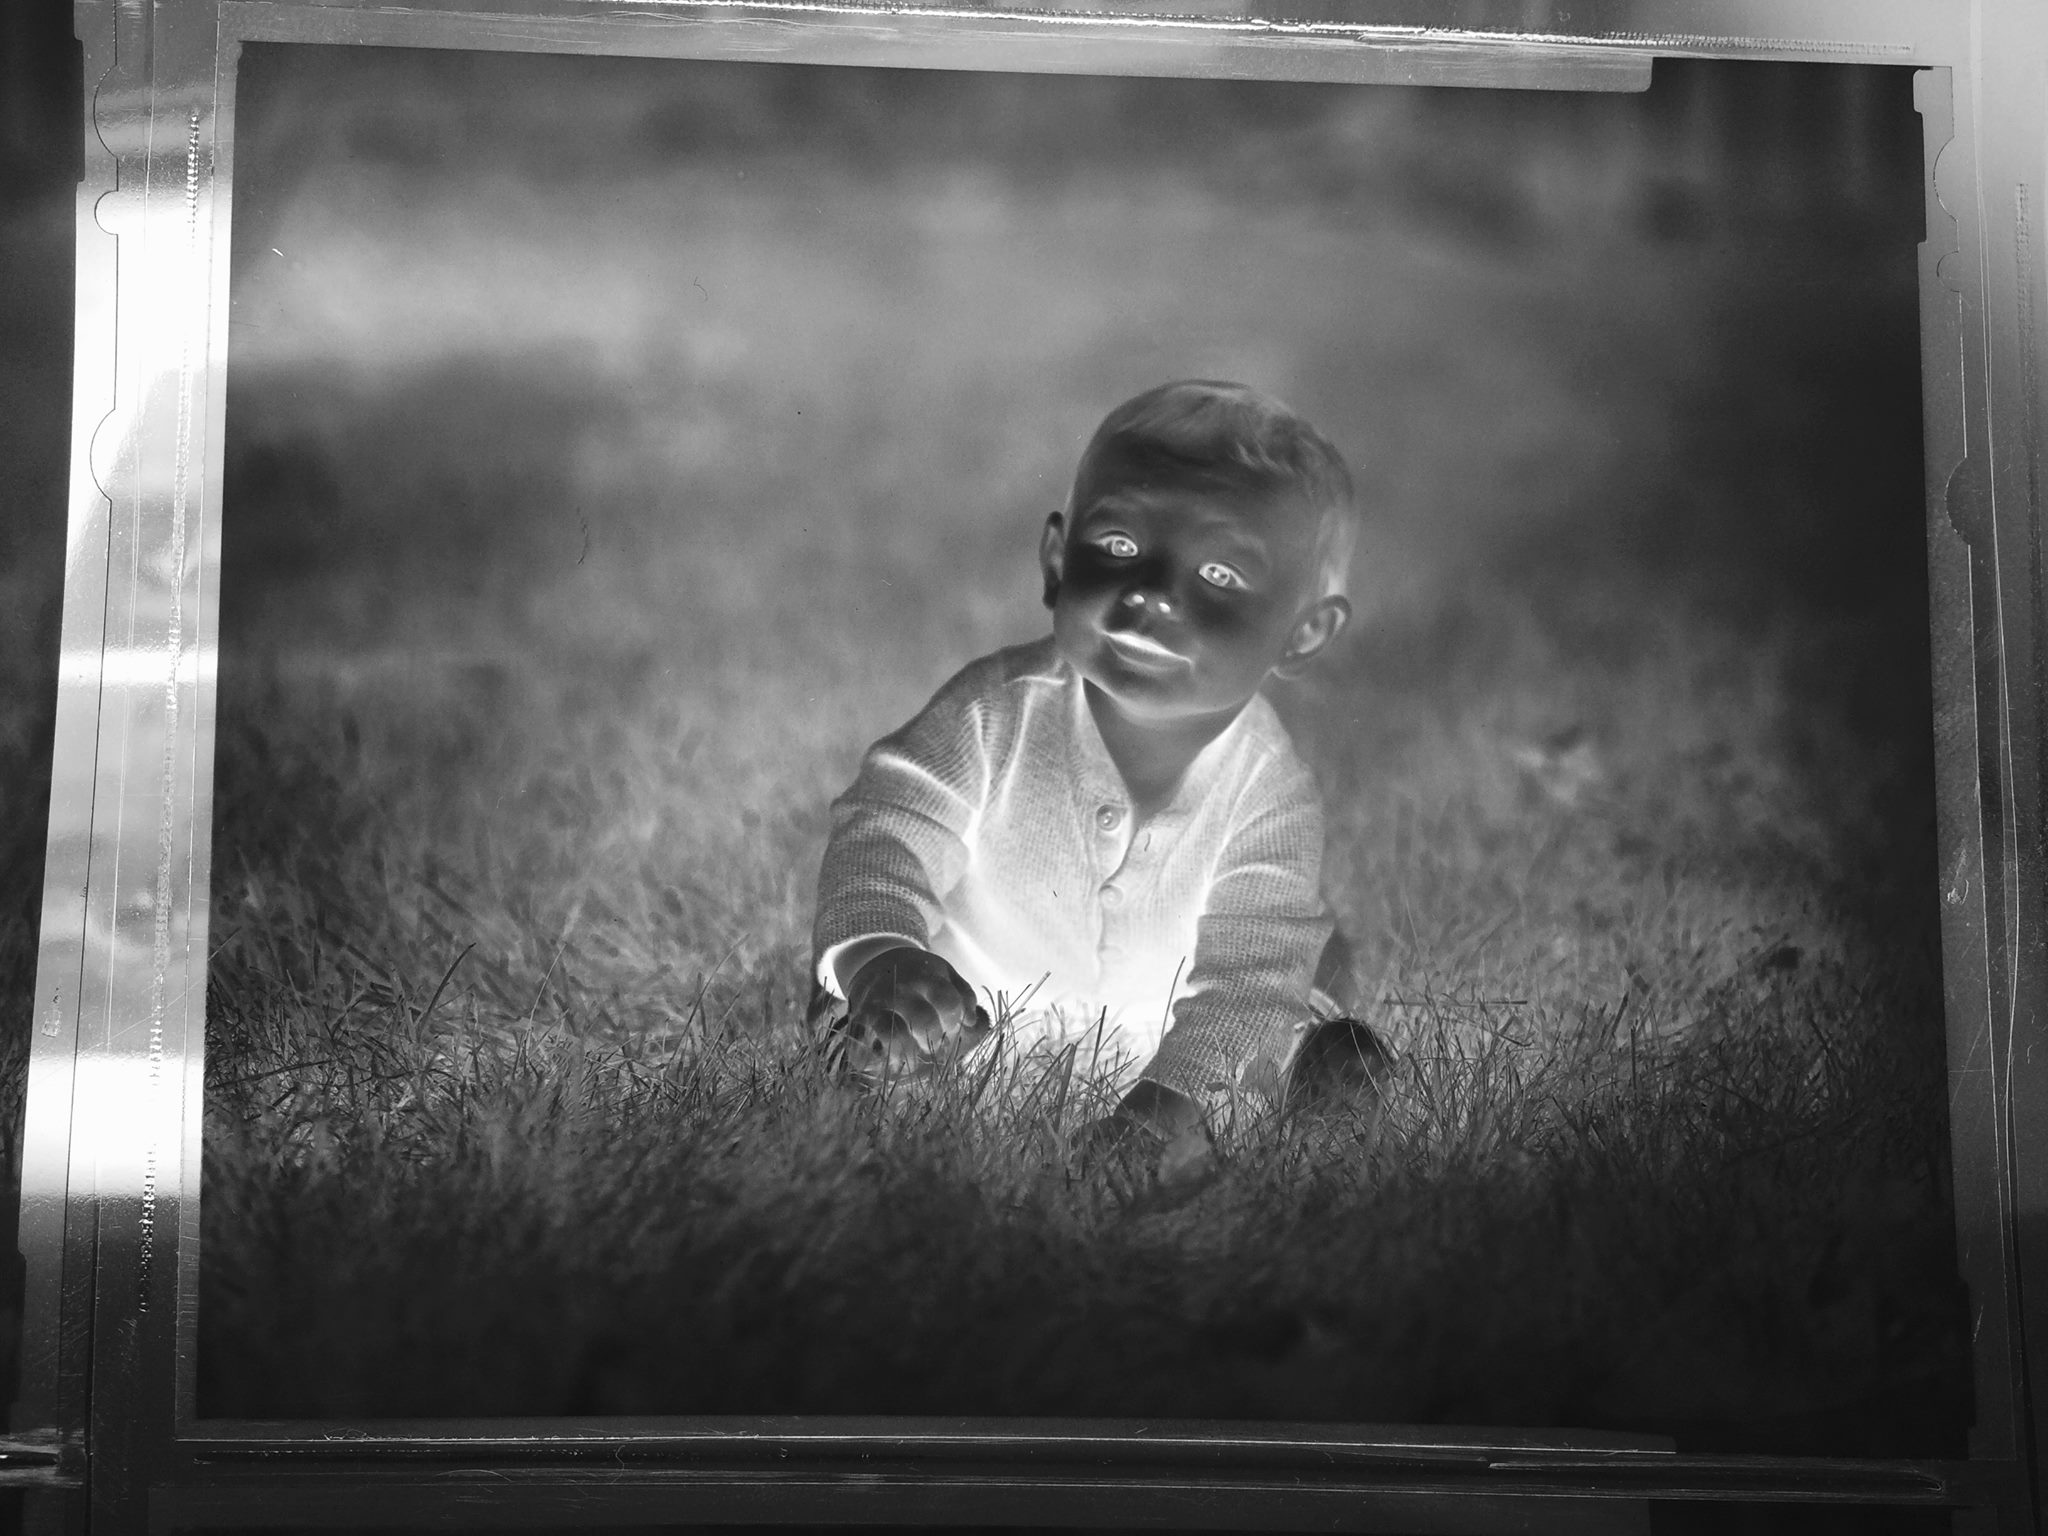
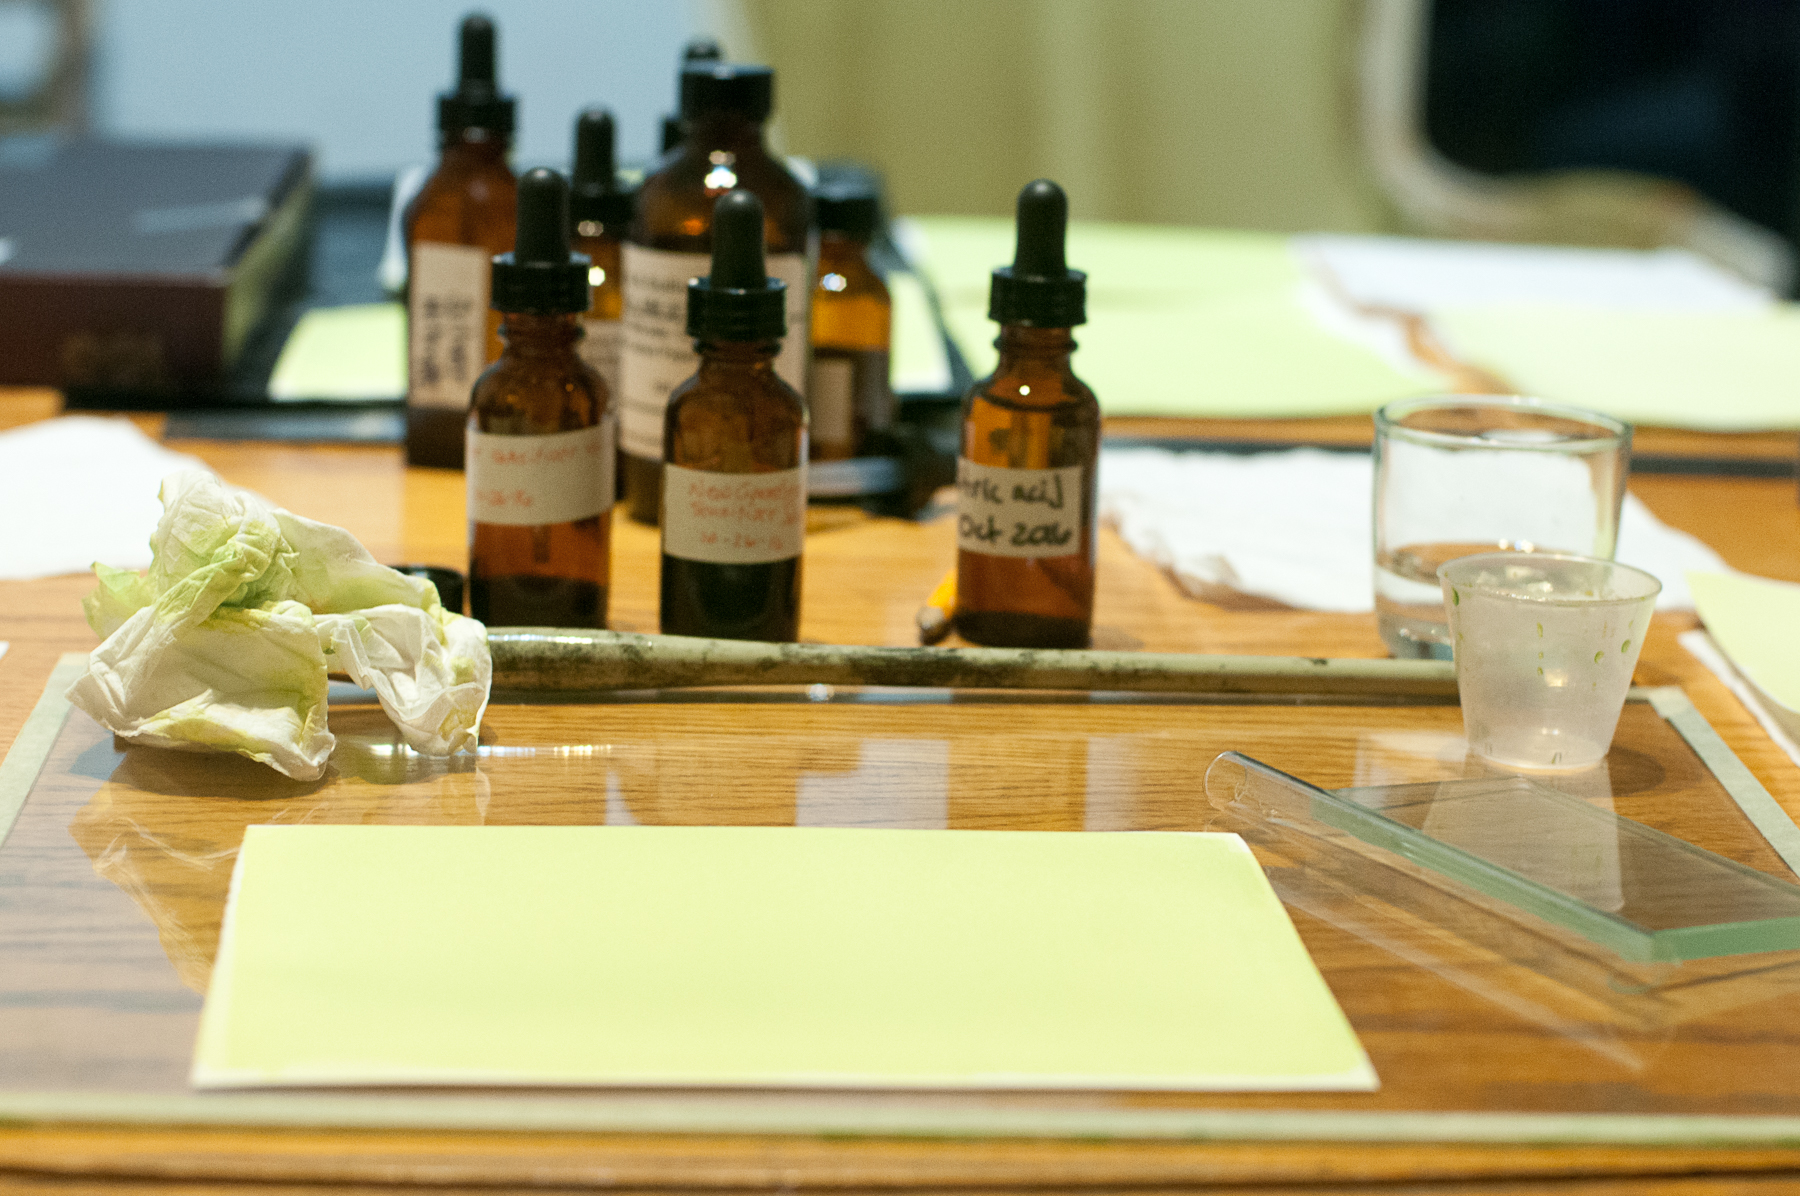
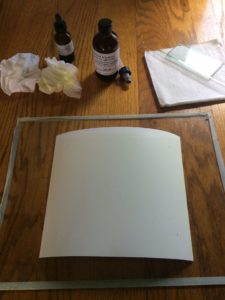
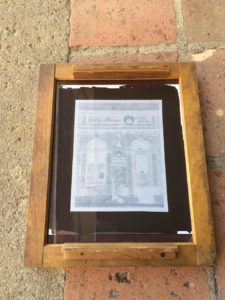
 The above photo was taken in our closet… our only closet… where I can get away from UV light (sunshine). The paper has been coated with silver nitrate and dried. Now I can add the waxed paper negative and sandwich it under glass in a printing frame.
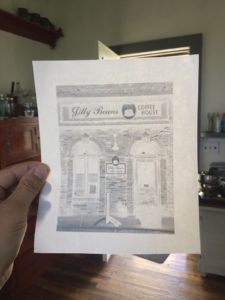
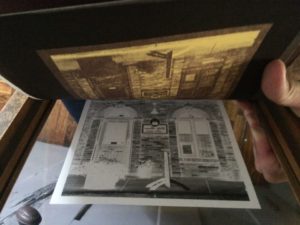
 Oh… and I needed to flip the negative so it will print correctly.
 Ready to go outside!
 In the evening sun to start the exposure. The yellow edges are already starting to turn brown from the UV light.
 After 10 minutes the paper starts to show how it is reacting to the UV light by turning brown around the edges. The image area is still blank though. More time is needed.
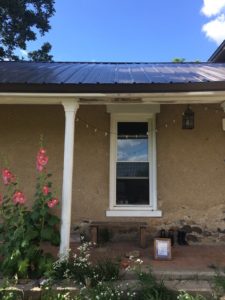 Waiting… loving the beautiful summer weather… and the hollyhocks!
 After 30 minutes it is looking close to done. Notice how dark the brown edges are now.
 And Dash passes through…
 Checking the progress of the exposure. My print frame has a hinged back so I can lift one half of the paper and not loose its registration/alignment. I check the exposure at the top of my basement stairs where the light is dim.
 A little more time in the sun!
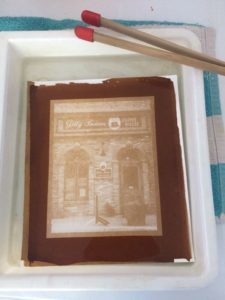
 After a 40 minute exposure, the print is placed in water for 7 minutes for its first rinse cycle.
 Still rinsing. 🙂
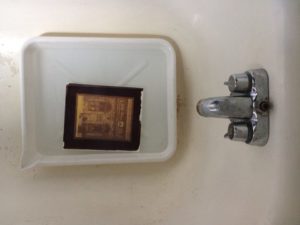
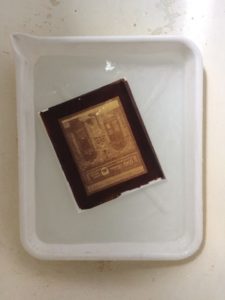
 Now the print is in a fixing solution for 10 minutes to keep it from continuing to turn black.
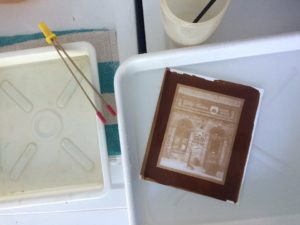 In the final rinse which will take 30 minutes.
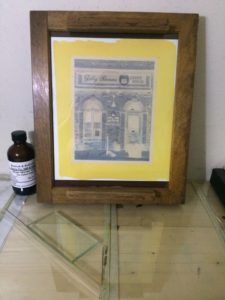
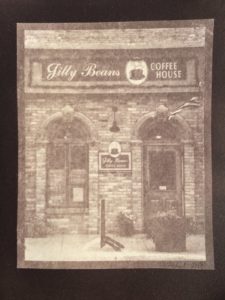
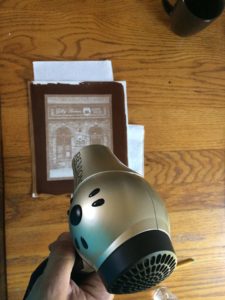 The rinse is done. Next, I dry it with a hair dryer.
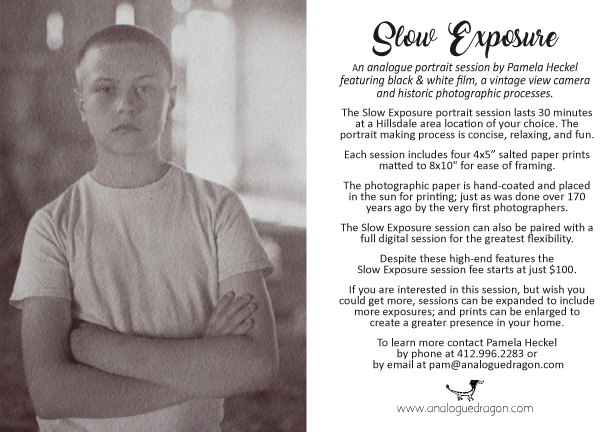
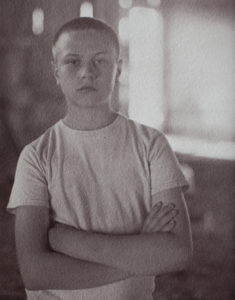
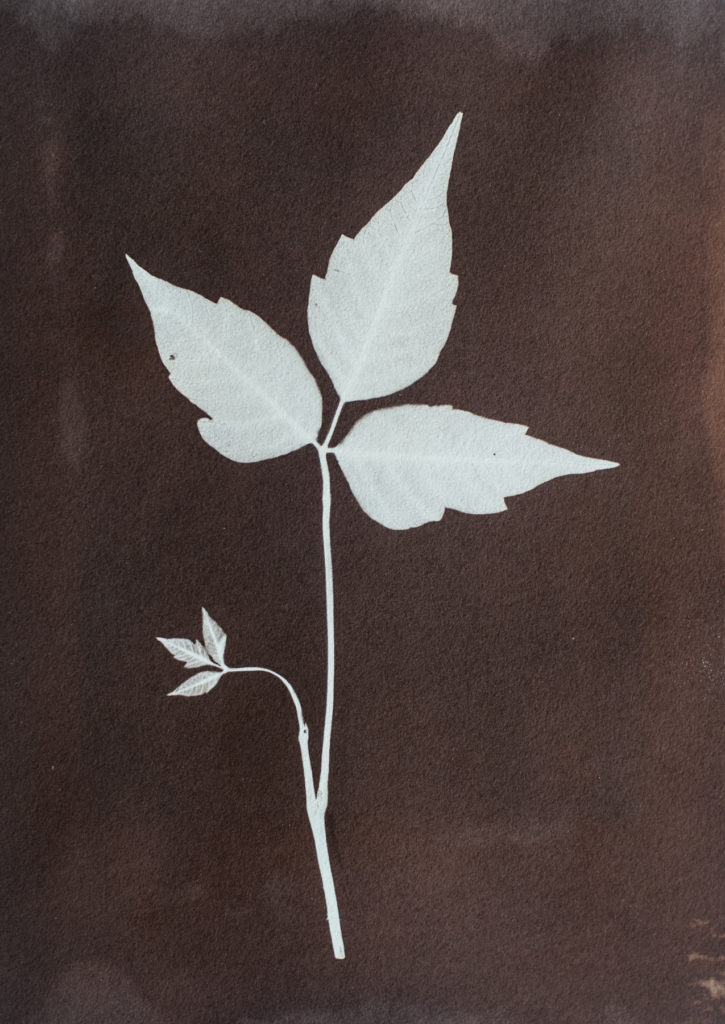
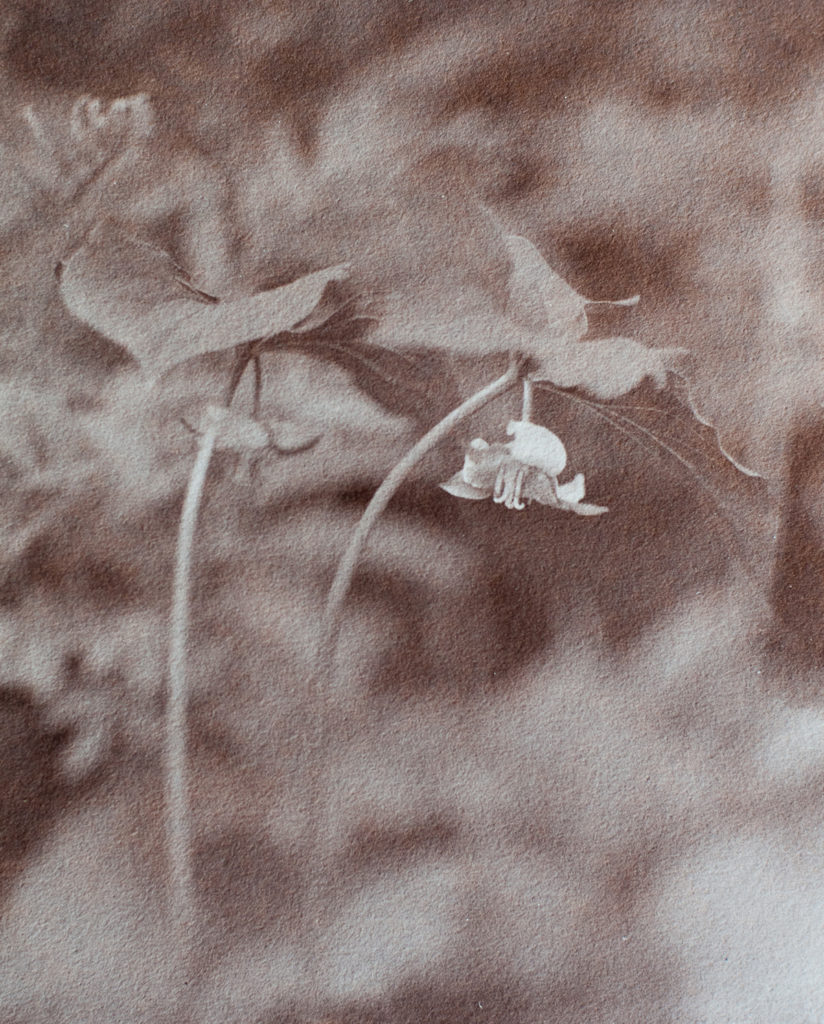
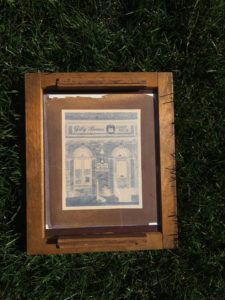
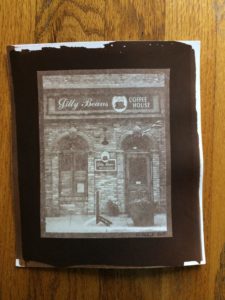 It’s dry and signed!
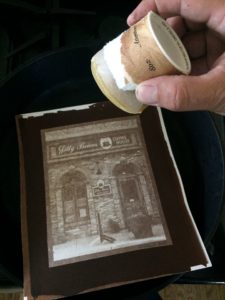 I began the printing process with bees wax so….
why not add more bees wax?!!
 The End!
Save
Save
Save
Save